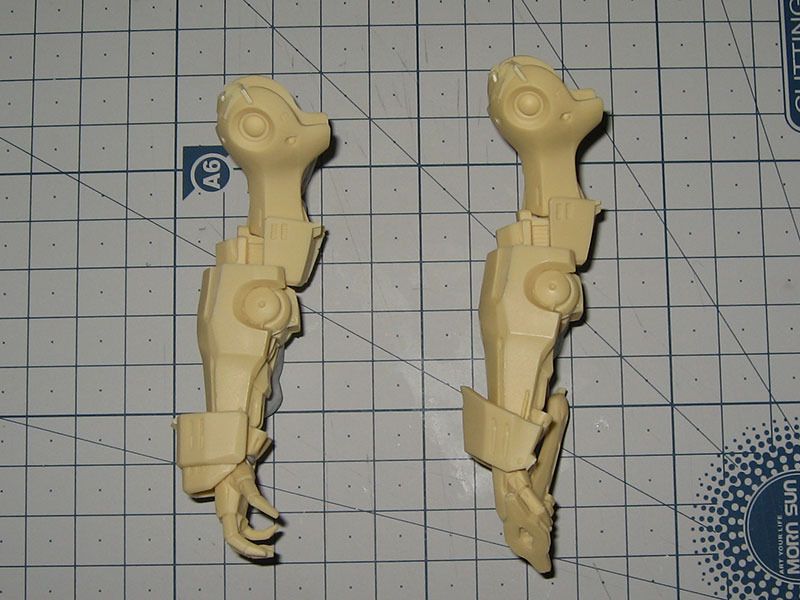
The posture of the arms and weapon is often overlooked. It is not difficult to find a WSC model with the arms just sort of hanging there with the weapon taped onto them.
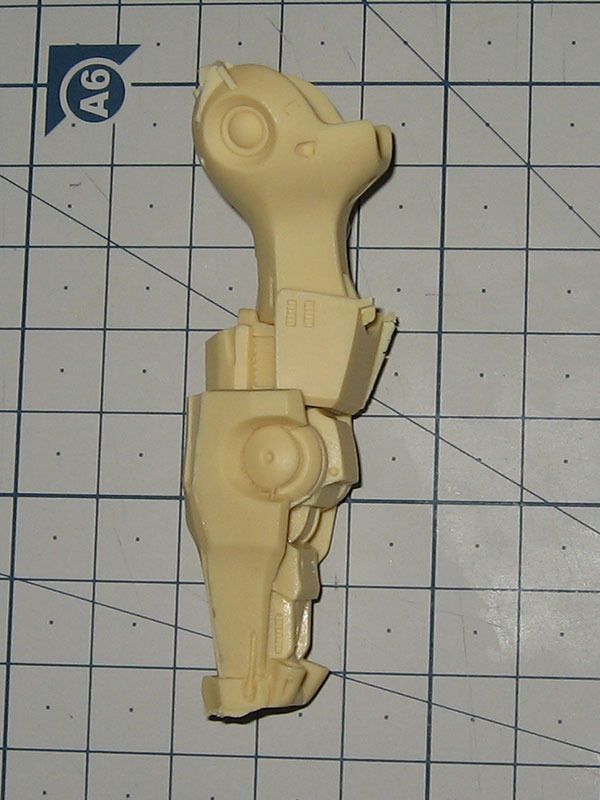
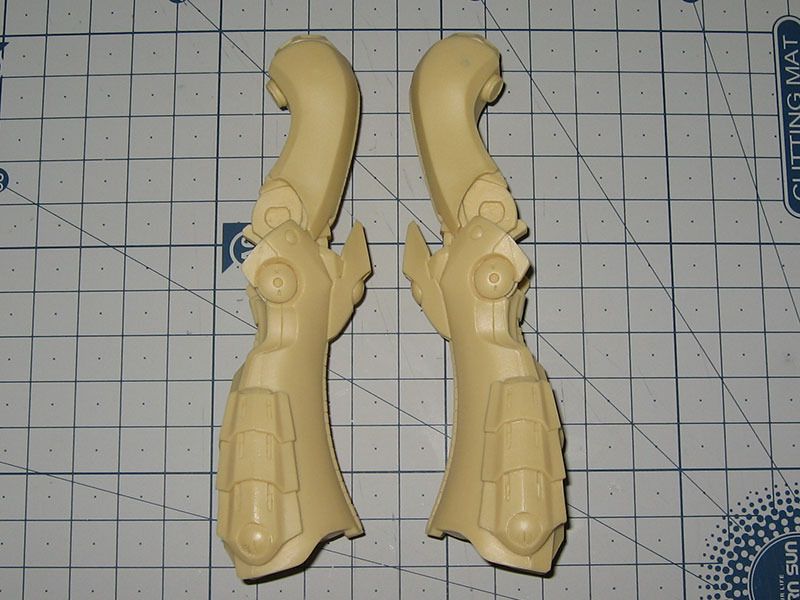
Especially the Vatshu, the arms always appear to be stiff. One of the reason is the elbow's non typical or straight forward design. As seen in this picture, it is kind of similar to the infamous Gothicmade elbow.
I guess that was Nagano's take on expressing the lines on the arms. When you take a look back onto Gundam, they really don't have any line on the arms.
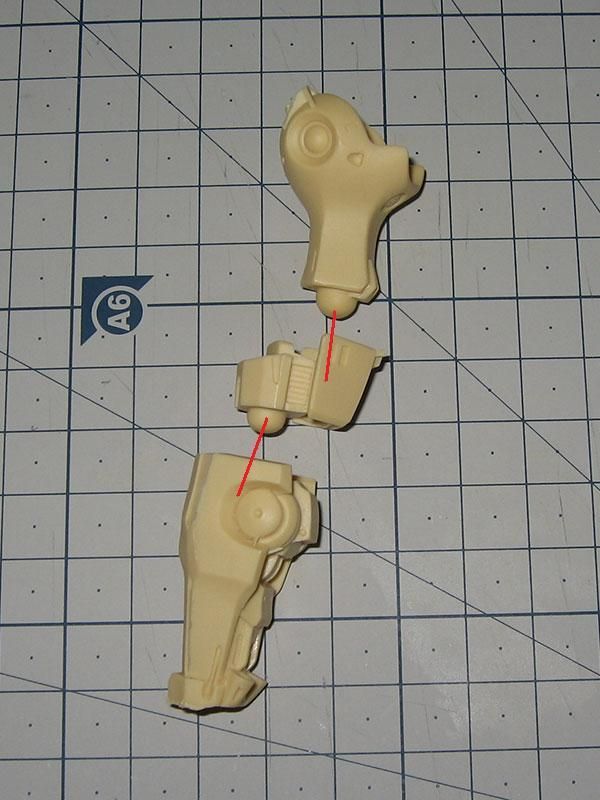
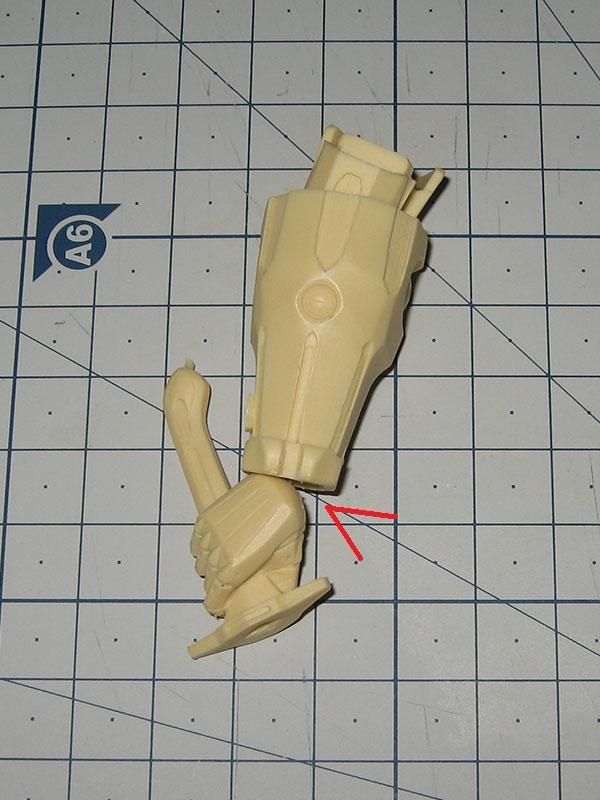
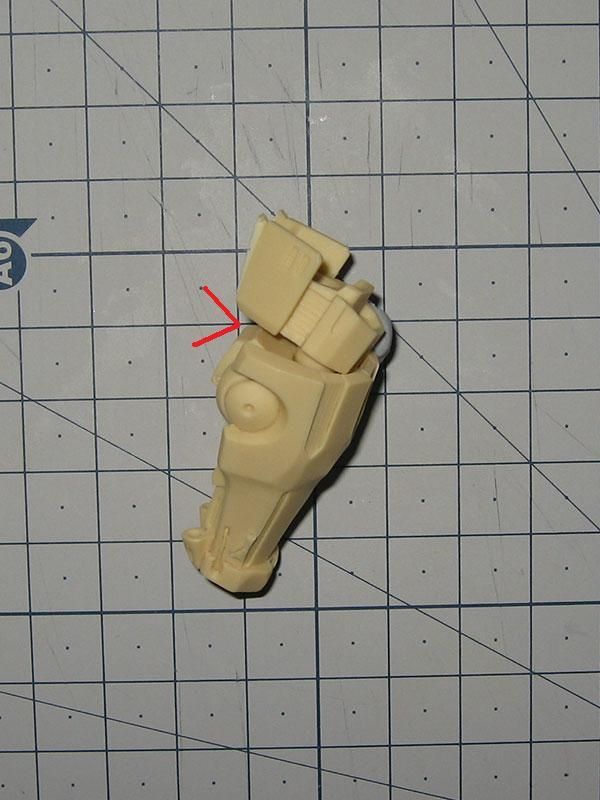
There should be a reason for Ikushima to sculpt the joints like this. The picture on the left shows when the elbow part is held flush to the lower arm. On the right, I left some space in between.
See how the line is improved, on the left the parts are held flush to each other, it does not imply 'movement'. So don't pin straight arms.
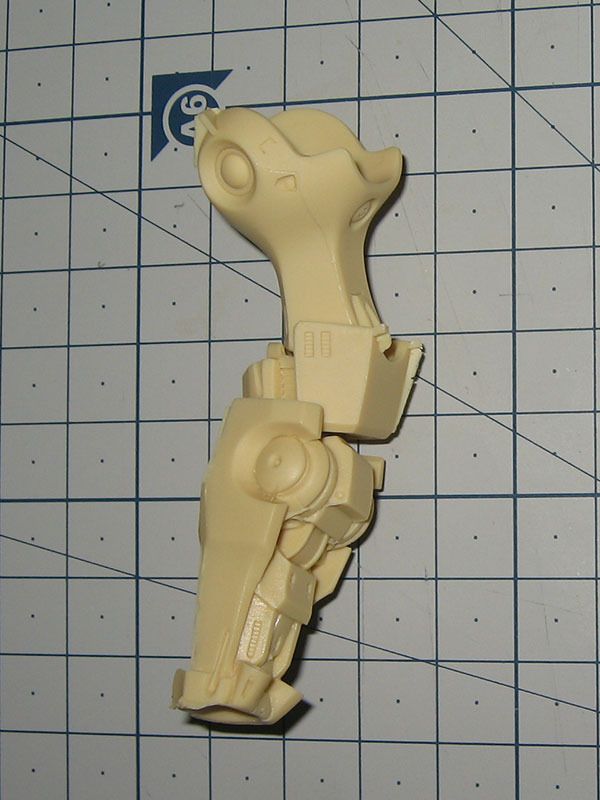
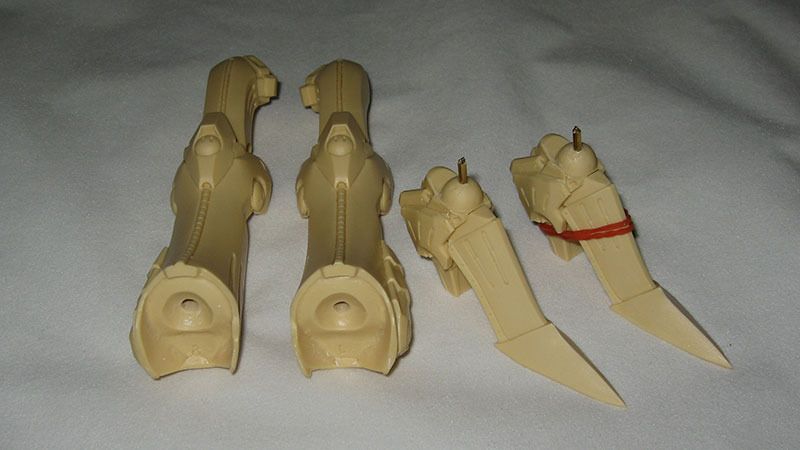
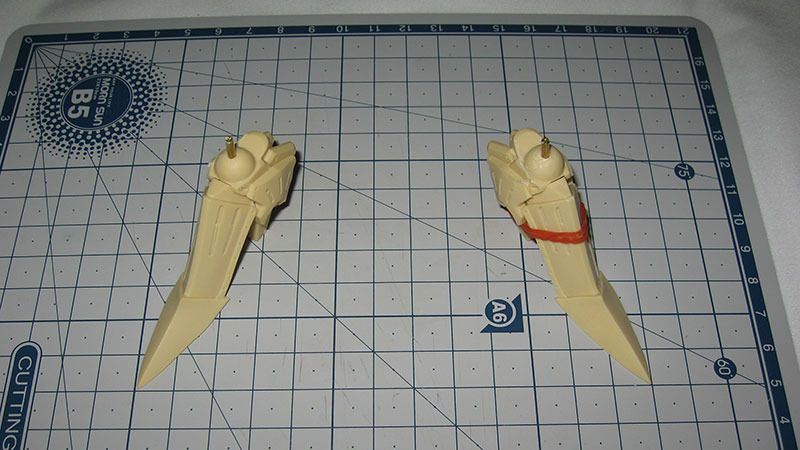
Another reason is the way the sword is held. On the Vatshu the sword is sculpted to almost horizontally in the palm. It would look stiff and lifeless if I just pin it 90 degrees to the arm. As shown in the pictures, there are empty space in between that I will need to put details in later.

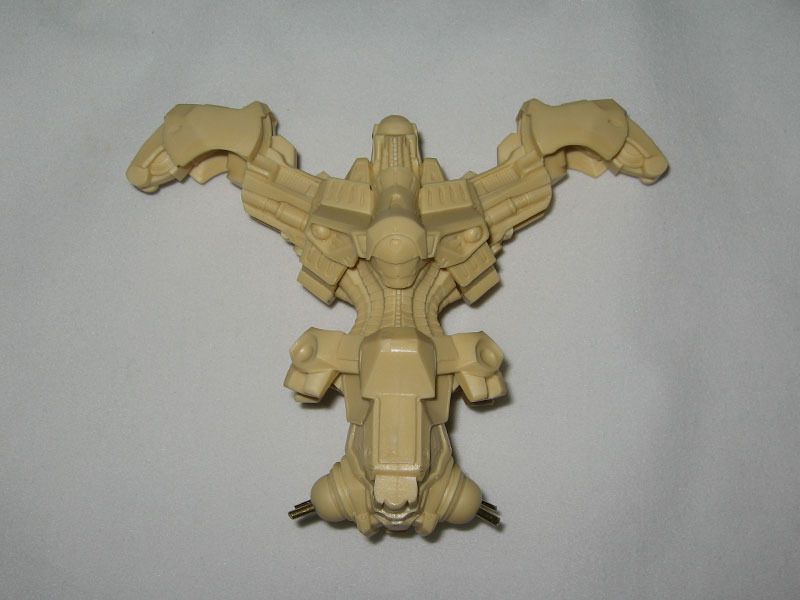
Now I have the torso and shoulder pinned, the pinning for the knees is corrected, and I have the holes and pins prepared for the ankles. I will go for the first attempt on the hip.
After studying referece photos. I decided how wide the leg would spread, and have the feet placed on the cutting mat, held by blue-tac. Take measurement and memorize it by any mean you could think of, and from all angles.
For instance I would put up the entire torso with the shoulder, legs, and feet. Look at it from the front and the side against a cutting mat. Then I'll remove the right lower legs, stuff epoxy to the right hip joint, and put it on. Adjust the angle using the left legs for reference. And then I will remove the left leg and repeat the steps for the left side, using the right side for reference this time.(I cannot take picture of these step becasue my hands were full.)
Check for symmetry and let it set. Expect to fail on your first attempt, when you see the result is not quite right, always second guess yourself and redo.

No comments:
Post a Comment