To put resin kits together requires pinning, it is putting a metal rod in between two parts to reinforce them.
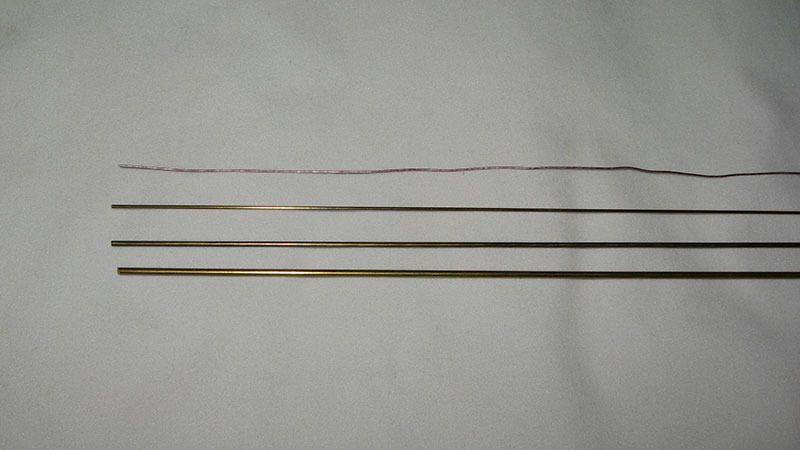
Here are some brass rods in different diameters, from bottom to top: 2.0mm, 1.5mm, 1.0mm. The one on top is a gardening wire for pinning tiny pieces.
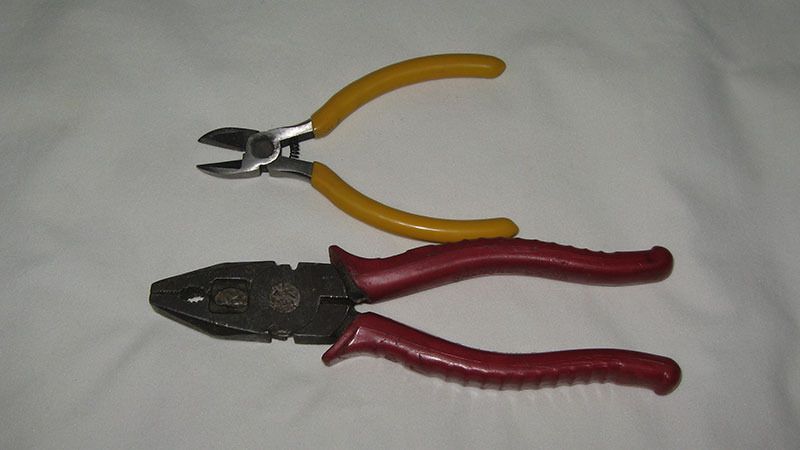
Clippers for cutting metal rods. A big, heavy one is required to cut 2.0mm rods.
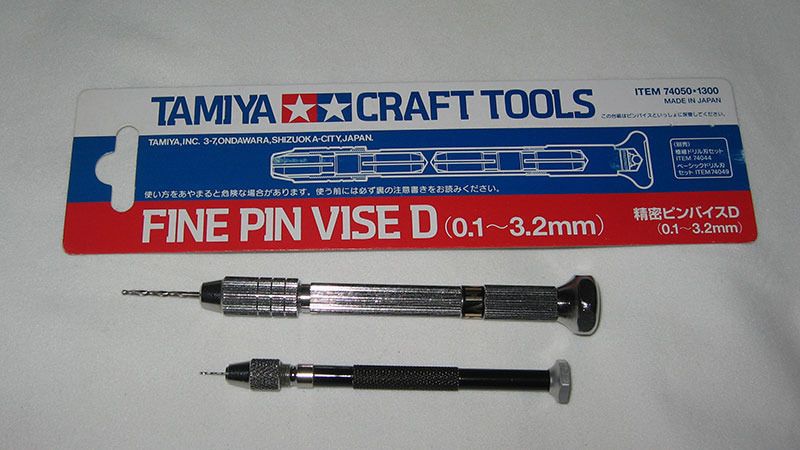
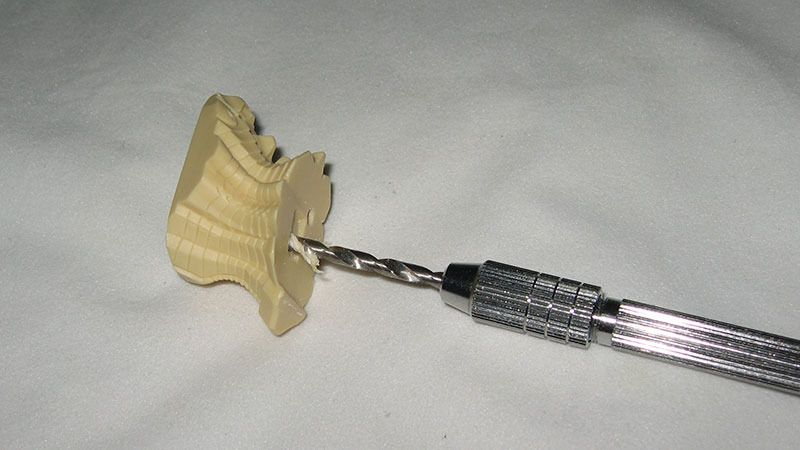
Tamiya pin vise, I highly recommend these ones, I had bad experience with generic ones.
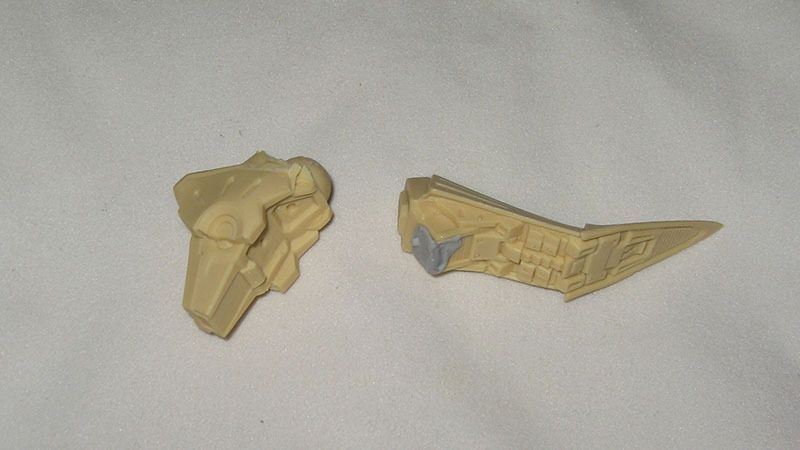
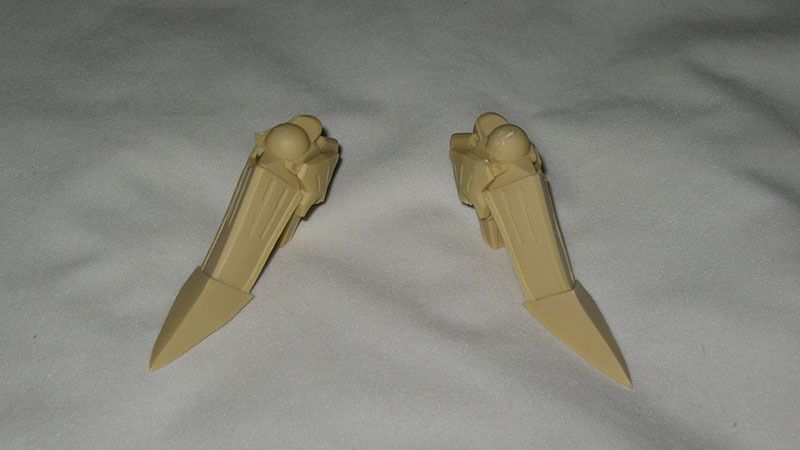
Firstly, decide the spot where the pin would go, and its diameter. In this case, I chose 1.5mm, and avoided pinning too close to the ankle.
After the first hole is drilled, I put a blue-tac on the other side, then squeezed two parts together. It would make an impression of the first hole on the other side, that is where I would drill the second hole. Mark the center of the drilling point through the blue tac with a sharp pin, then remove the blue-tac to drill the second hole.
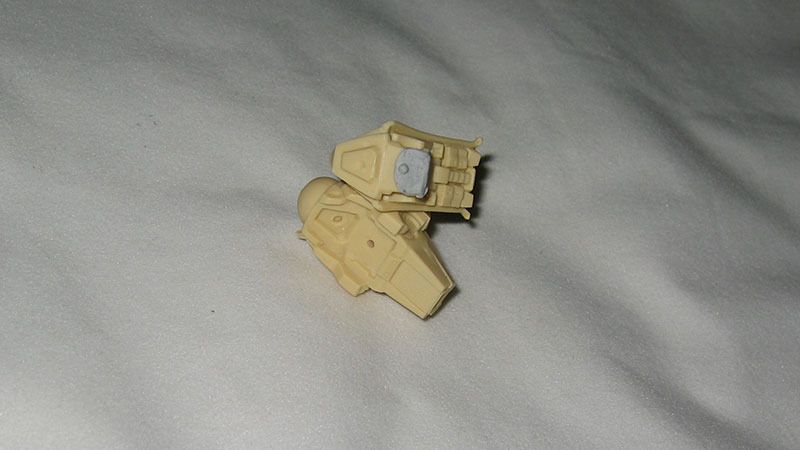
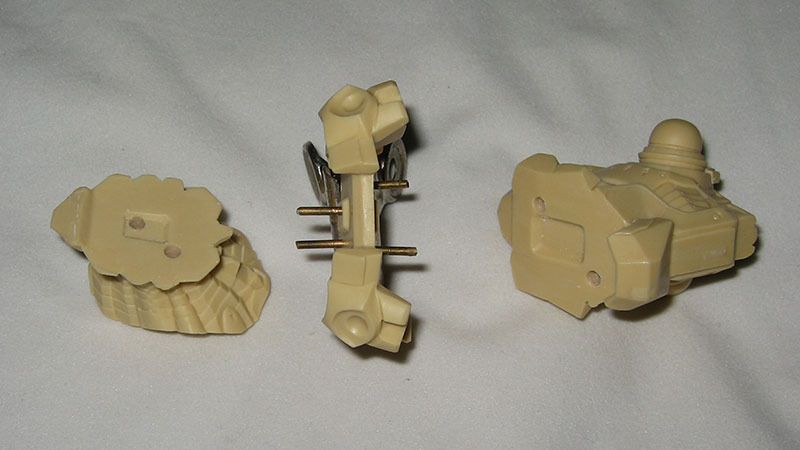
Insert the brass rod and test fitting, no glue is used at this stage.
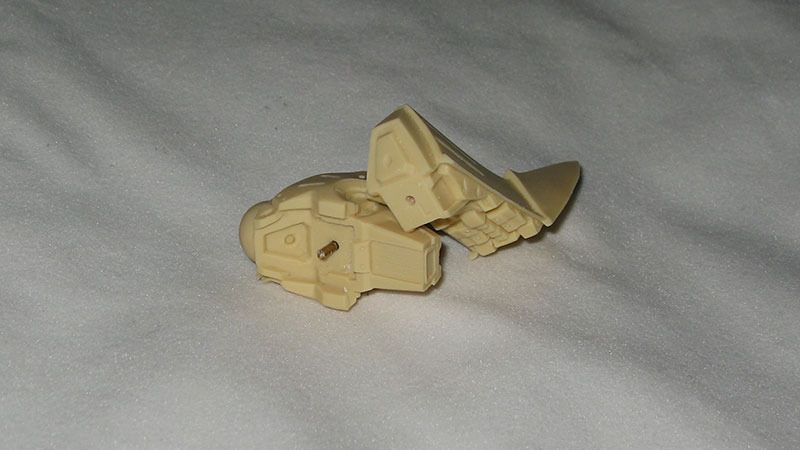
Other times it is difficult to get this done precisely. The idea is that you can drill a tight hole on one side, and a wider, loose hole on the other side, then use epoxy to fill the loose hole with the brass rod to make a precise pinning.
Mark and drill holes on both sides the same way. Since the Vatshu holds a big shield on the left hand, I would pin 2 rods diagonally on each sections of the torso.

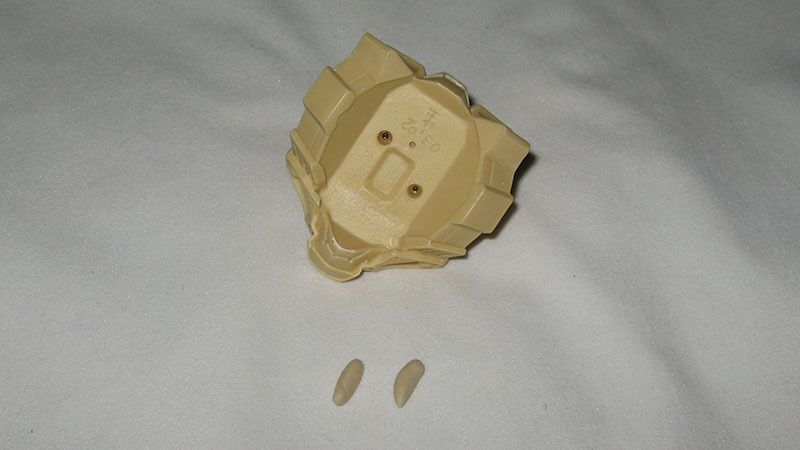
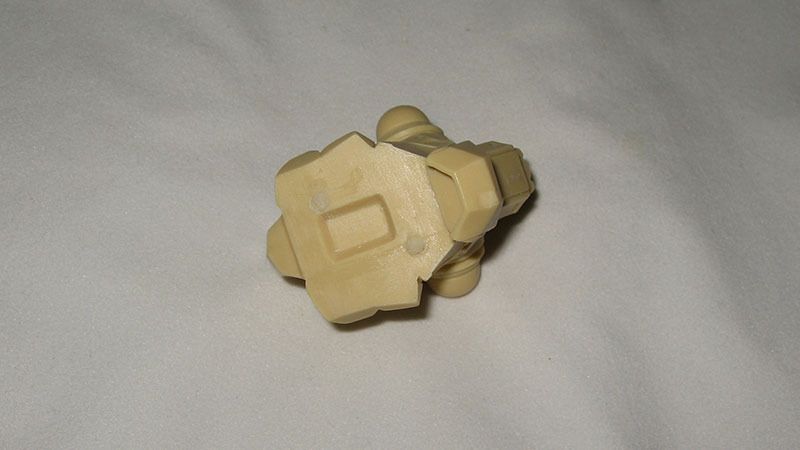
This part in between the waist and the hip part is only 3-4mm thick, So I decided to leave the tight holes and pins on this part, and drill wider holes on the others(waist and hip).
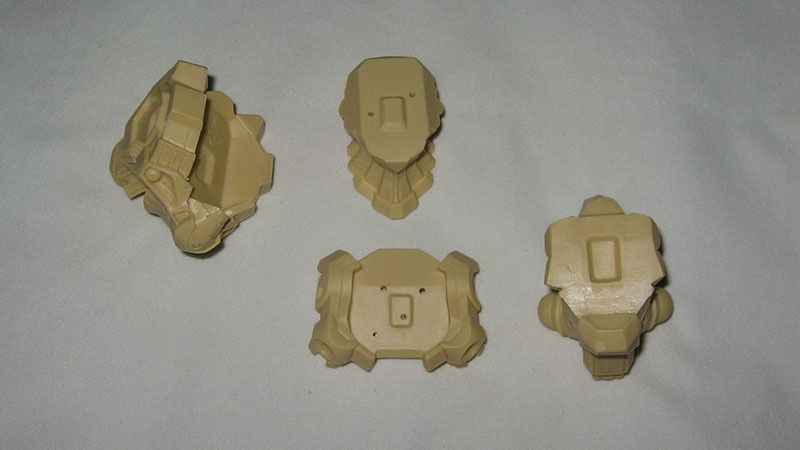
The holes on the waist, chest and hip are widen to 3.0mm.
2 parts epoxy and CA glue will be used for the next step. I use this Alteco brand epoxy and a generic CA glue.
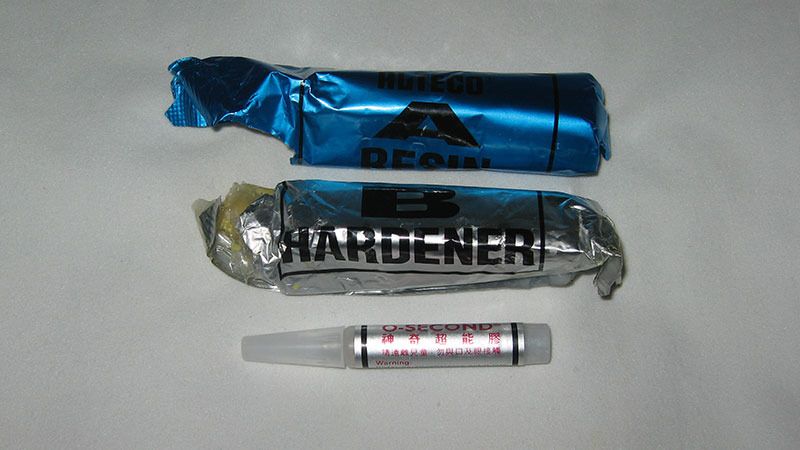
The mixing ratio for the epoxy is 1:1, portion them to fill 80% of each hole.

Thoroughtly mix and portion the epoxy for each hole, then put some CA glue inside the holes, just a tiny bit to coat the inner wall of the hole, not to fill the entire hole.
Stuff the holes with the epoxy.
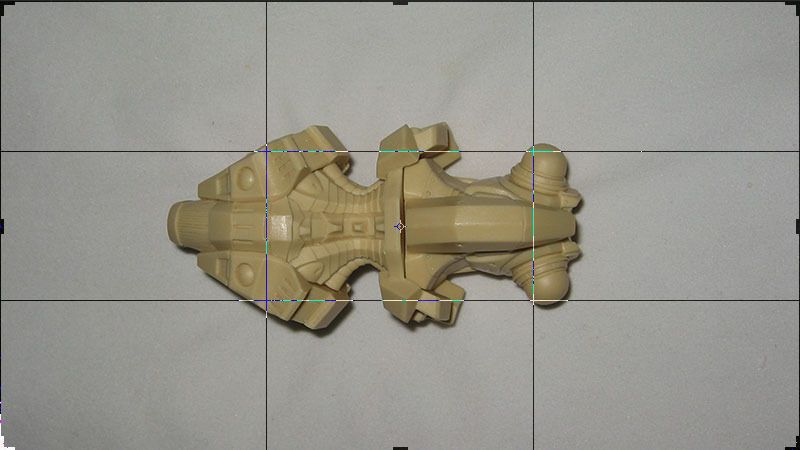
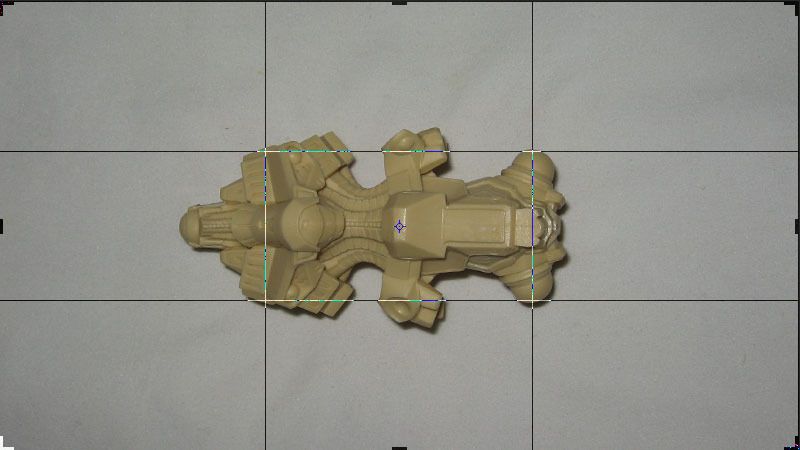
With the brass rods in the tight holes, put the parts together. Check and adjust for alignment, it is important to align the abdomen right in the center, as well as the back side. I would look at it horizontally, or look at it through a camera.
Let it set before taking them apart.
Insert the brass rod and test fitting, no glue is used at this stage.
Other times it is difficult to get this done precisely. The idea is that you can drill a tight hole on one side, and a wider, loose hole on the other side, then use epoxy to fill the loose hole with the brass rod to make a precise pinning.
Mark and drill holes on both sides the same way. Since the Vatshu holds a big shield on the left hand, I would pin 2 rods diagonally on each sections of the torso.
This part in between the waist and the hip part is only 3-4mm thick, So I decided to leave the tight holes and pins on this part, and drill wider holes on the others(waist and hip).
The holes on the waist, chest and hip are widen to 3.0mm.
2 parts epoxy and CA glue will be used for the next step. I use this Alteco brand epoxy and a generic CA glue.
The mixing ratio for the epoxy is 1:1, portion them to fill 80% of each hole.
Thoroughtly mix and portion the epoxy for each hole, then put some CA glue inside the holes, just a tiny bit to coat the inner wall of the hole, not to fill the entire hole.
Stuff the holes with the epoxy.
With the brass rods in the tight holes, put the parts together. Check and adjust for alignment, it is important to align the abdomen right in the center, as well as the back side. I would look at it horizontally, or look at it through a camera.
Let it set before taking them apart.
No comments:
Post a Comment