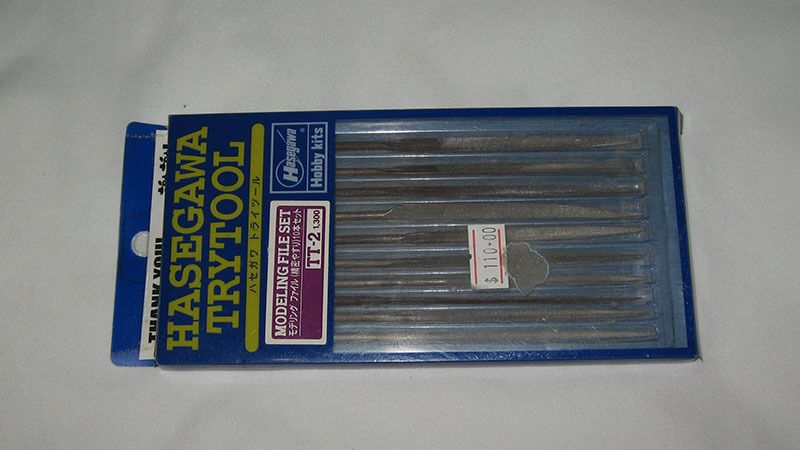
Any reasonably sized files would do, I use Hasegawa's Modeling file set.
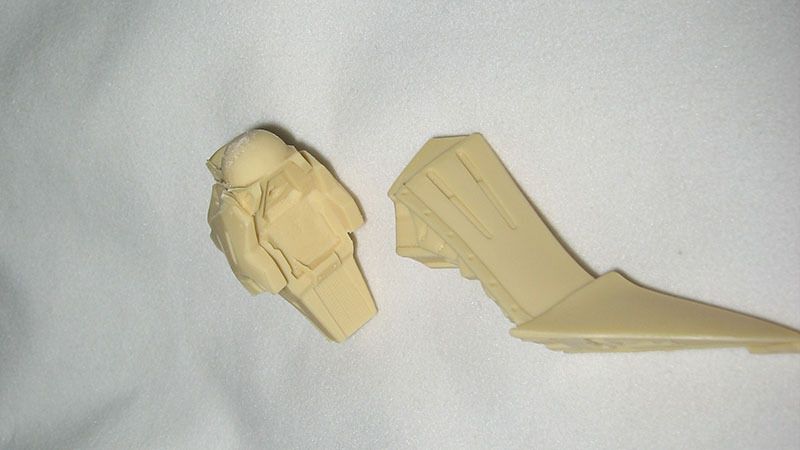
Last time I clipped off or sawed off the parts from the pouring gates, I'll then file away most of the remaining nubs.
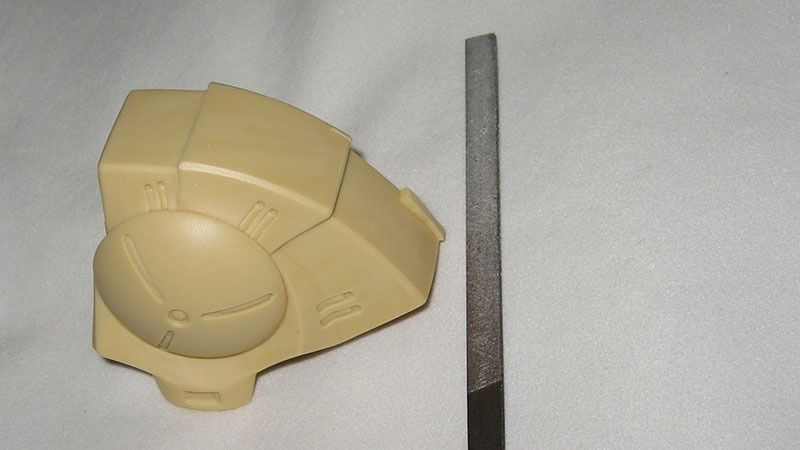
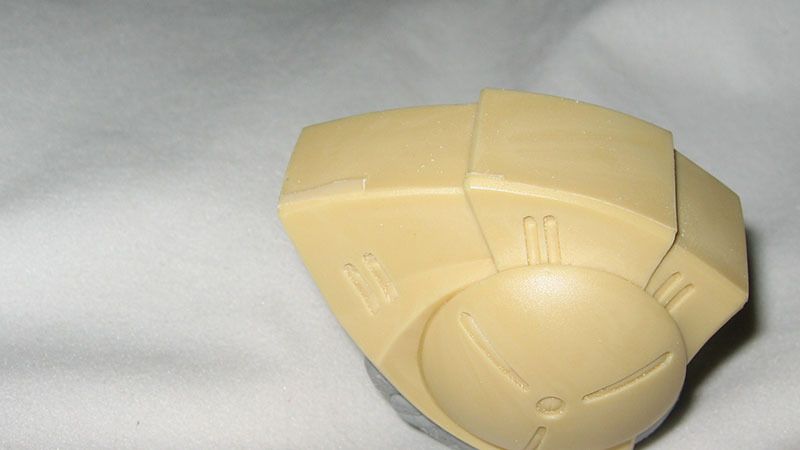
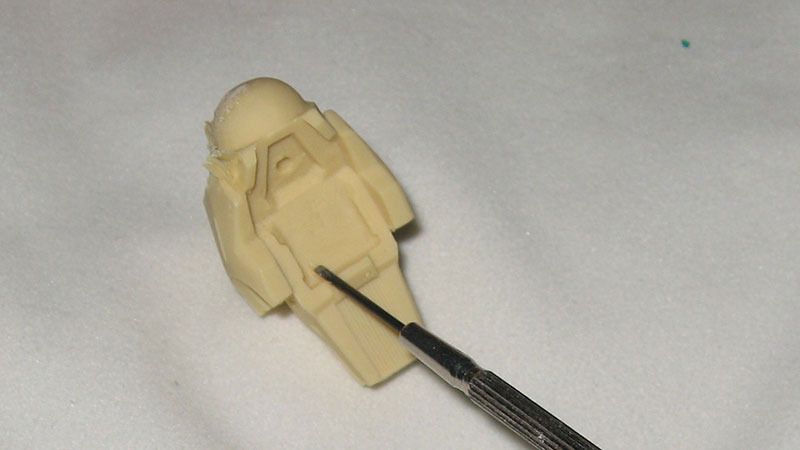
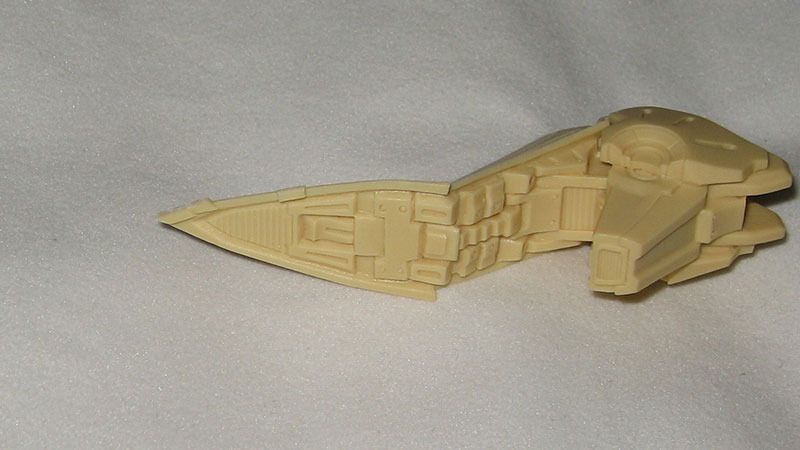
File in a diagonal motion, lightly and slowly. Pay attention to which part you are actually filing, file only the nub, do not hit anything else. Stop when the nub is almost gone.
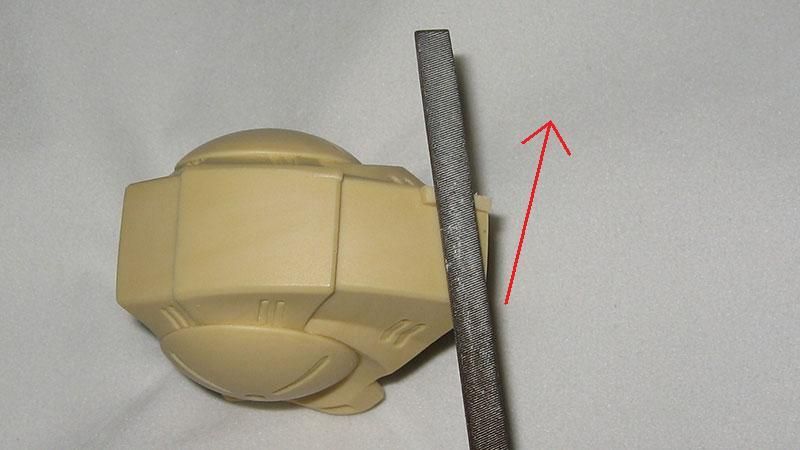
As seen in this picture, I did not touch anywhere else other than the nub with the file.
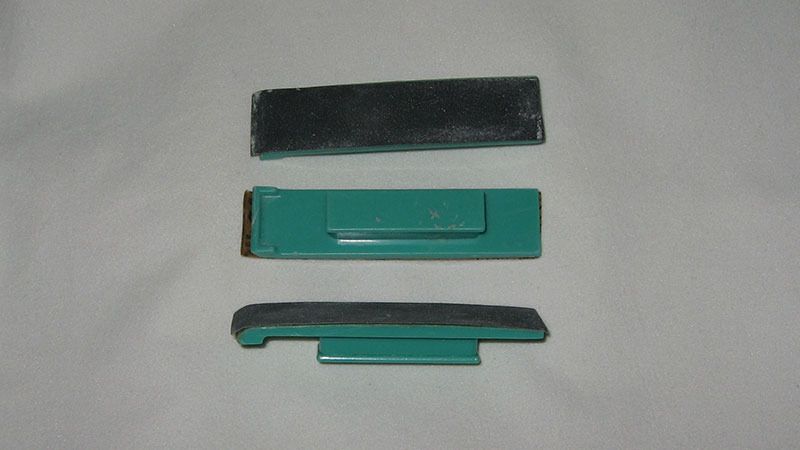
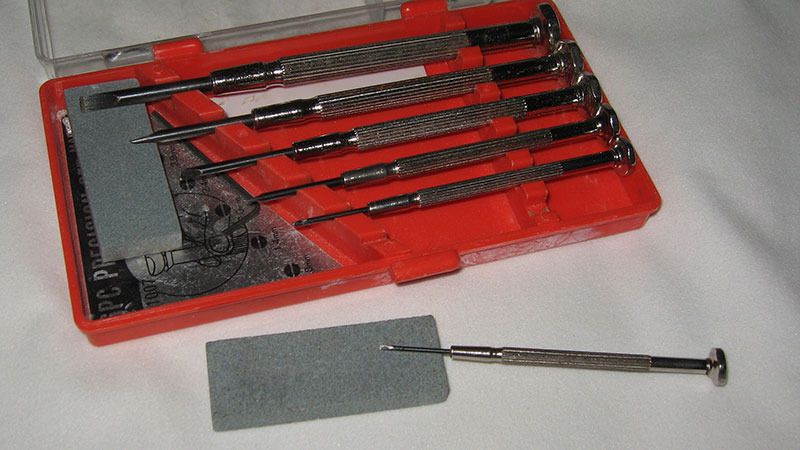
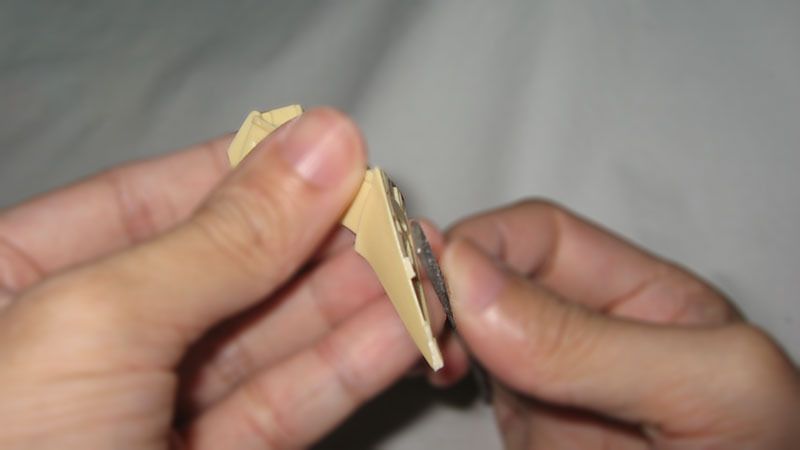
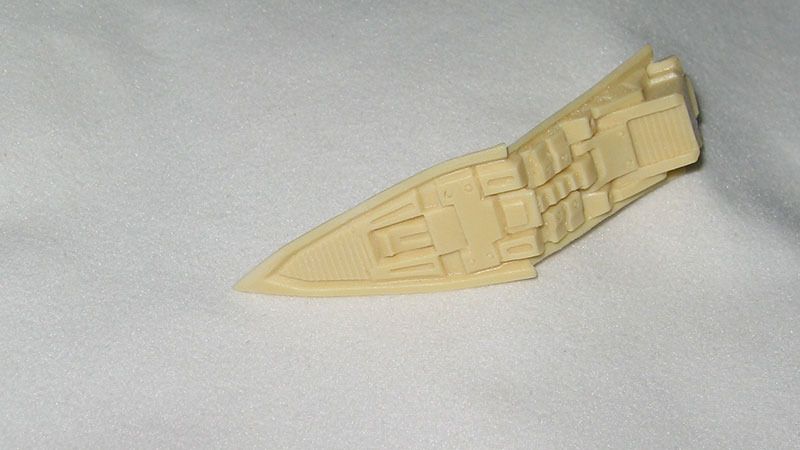
Then I'll switch to using these 'Satelite tools'(That's a brand name). I replaced the sand papers with #400 grit on double sided tapes.
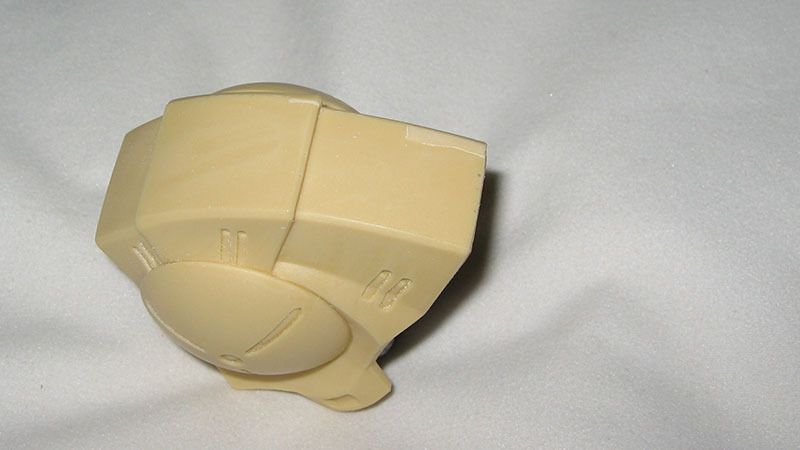
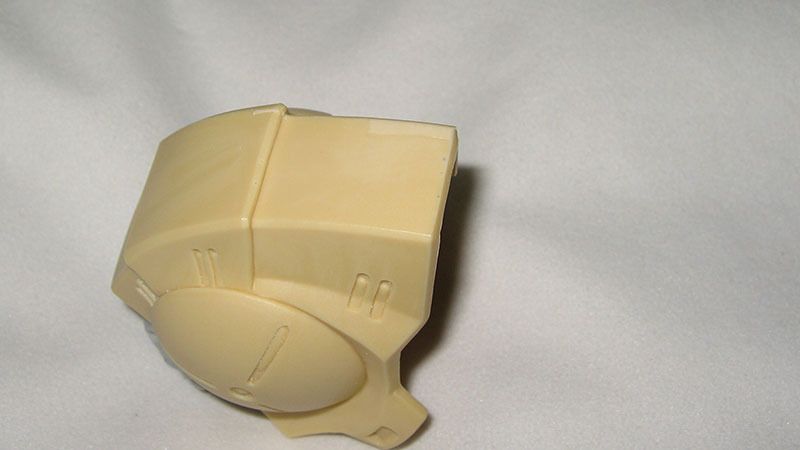
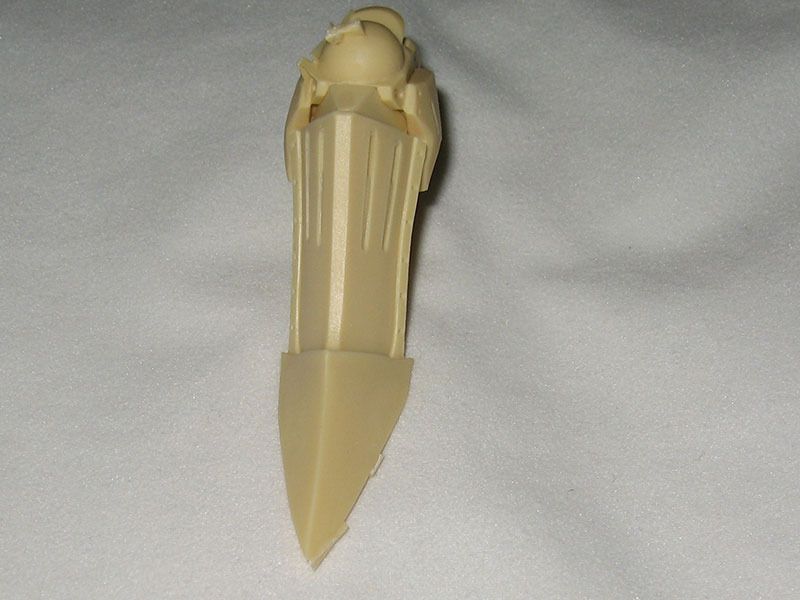
Sand until the nub is gone or almost gone. Not to worry about some spots maybe not thoroughly done, I'll deal with them later along with the mold lines with finer grit paper. You'll see there are air bubbles near the nub, I'll also deal with them later. Keeping the part's orginal shape is the first priority.

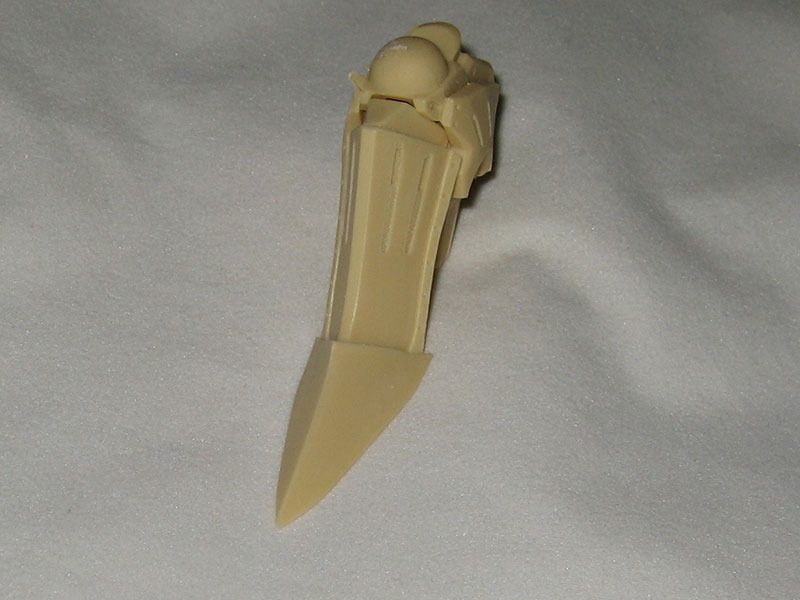
There will be resin residues from the worn molds.
I'll deal with them with chisels or in this case, my custom made screwdrivers.(Jeweler's screwdrivers sharpen with a stone)
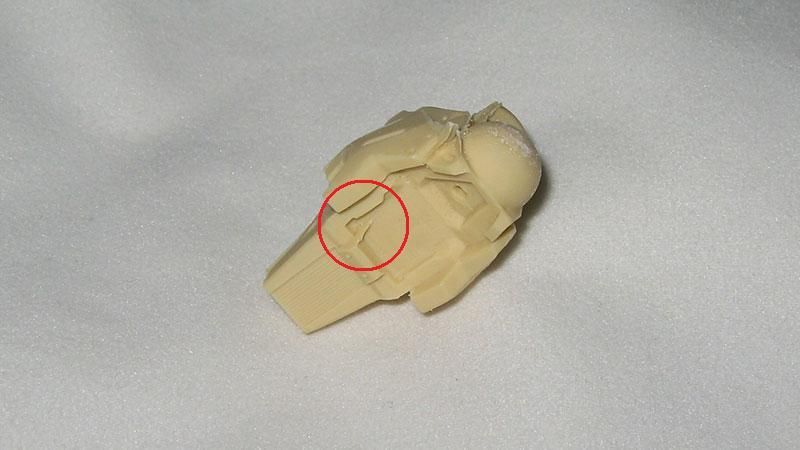
Some large nub on a rather delicate spot.
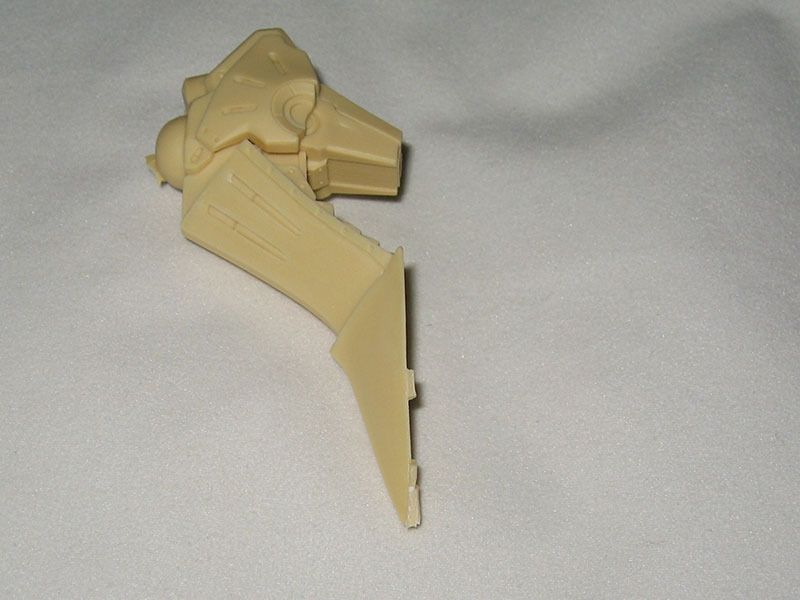
When filing, look at it from the top and side view, so the file never touch anything other than the nub.
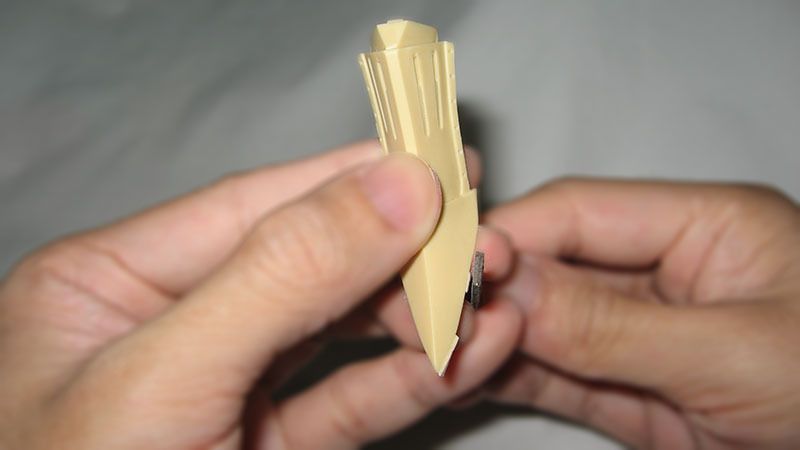
Close in with a knife, hold the blade vertically against the nub, scribe away material with a sideway motion, lightly.
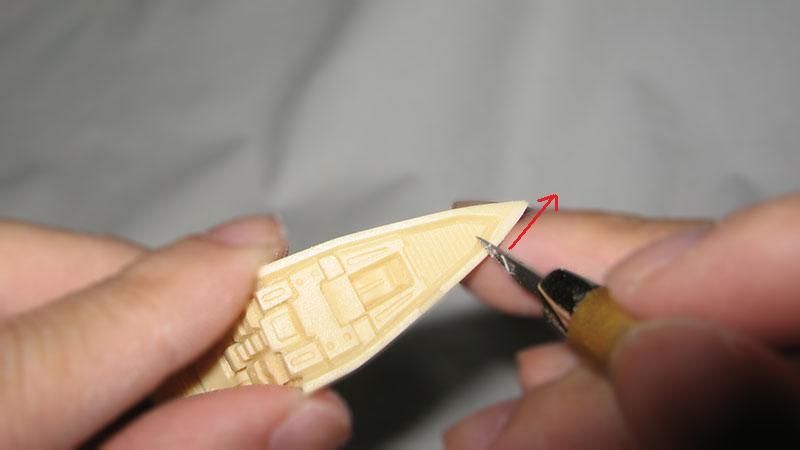
At this stage, I did not remove the nub all to way, again I left some of it to deal with later, along with the mold lines.
Sometimes the parts broke off from the pouring gates, or if you accidentally cut in too deep. This will be covered in the later tutorial.

No comments:
Post a Comment