Work Shop Cast FSS kits are mostly free-pose kits, the builders will have a certain degree of freedom on the posture. The hips, ankles, shoulders and elbows will be jointed by ball shaped connections.
For tips on posing a Mortar Headd model, go to Posture of Mortar Headds page.
Before pinning the hips and ankles, I'll have the torso, shoulders and knees pinned already, the torso and shoulders will be used as a guide for alignment.
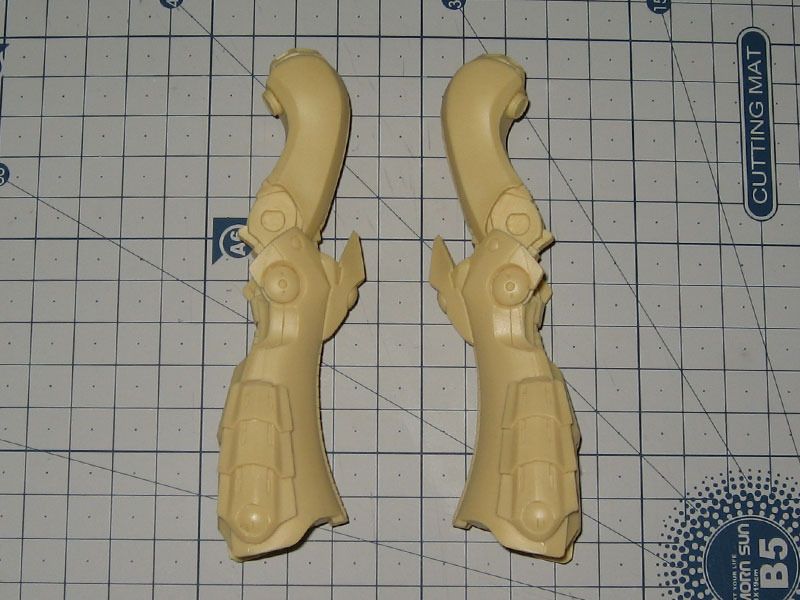
I have the shoulders and knees pinned as explained in the Basic Pinning page. I used 1.5mm brass rod for the knees, 2.0mm and 1.0mm rods for the shoulders. I stuffed blue-tac around them so I won't have to hold them with my hands for prolonged time.
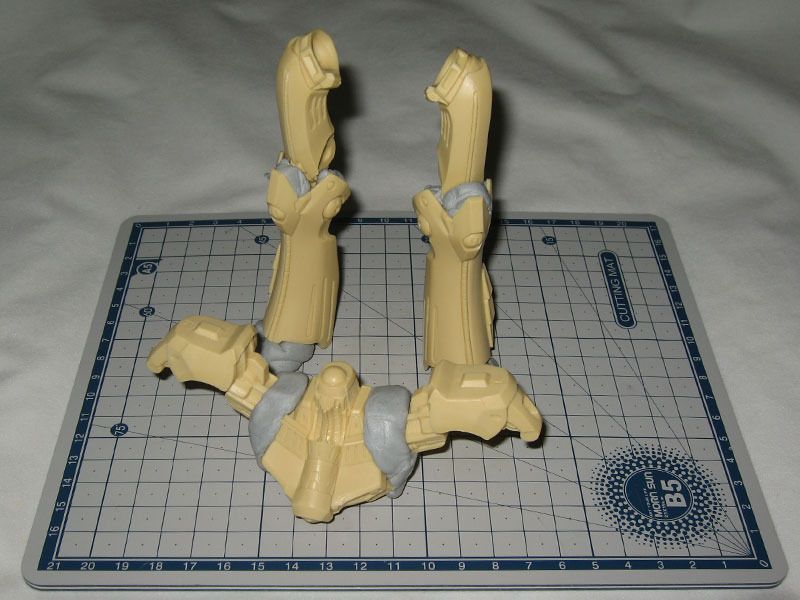
Check for symmetry with the grids on a cutting mat. Let them set for 4 hours(depends on the type of epoxy used.).
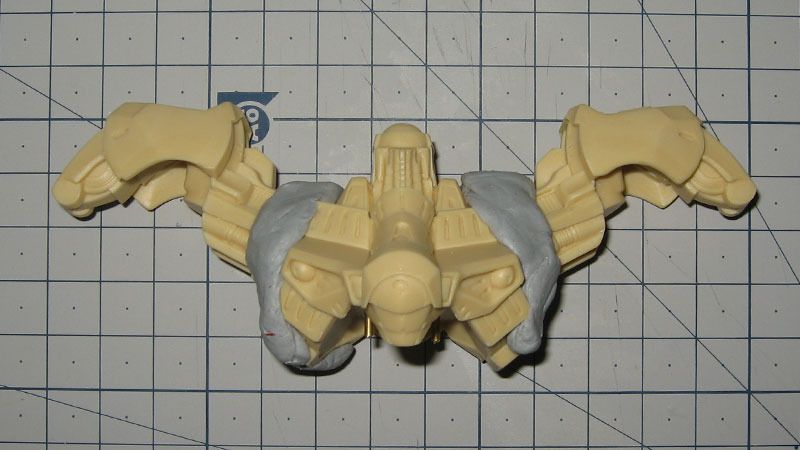
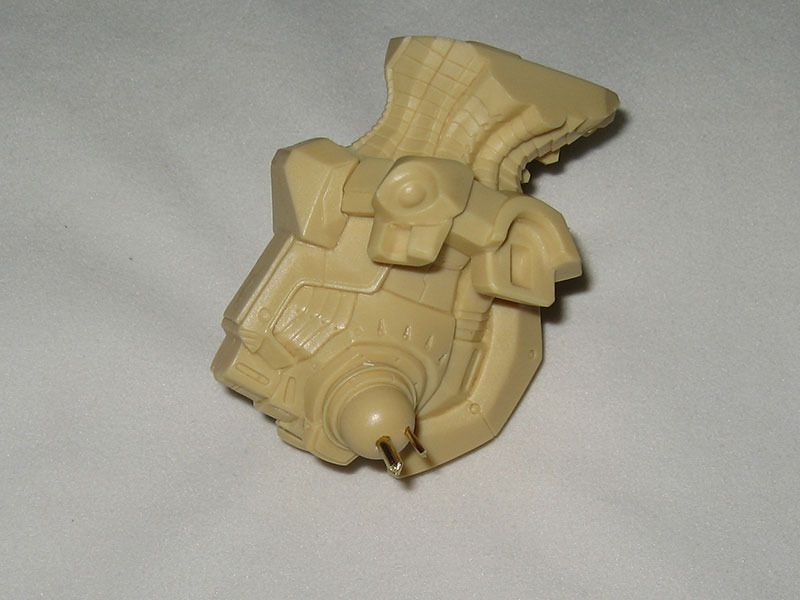
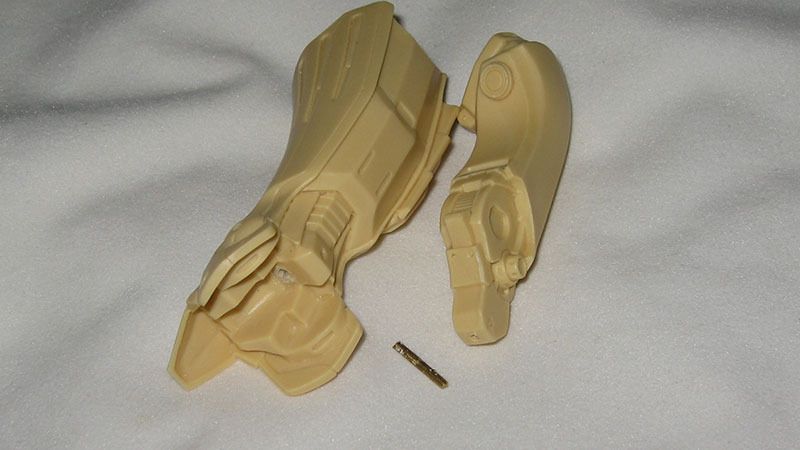
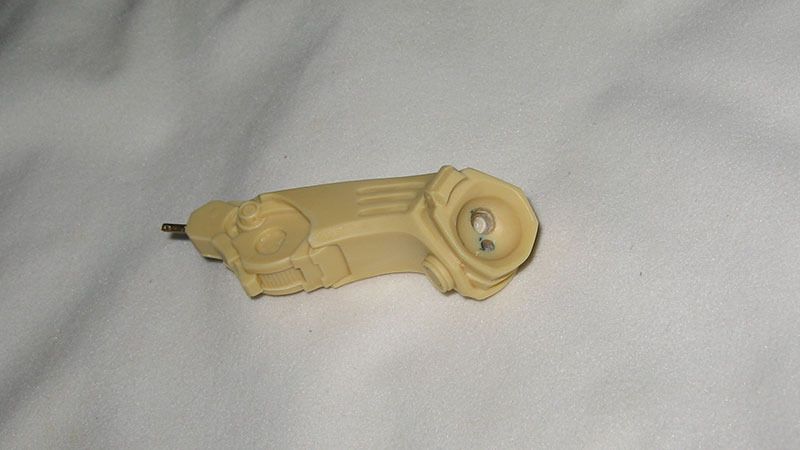
While the epoxy on the shoulder and knees is being harden. I can drill holes on the male sides of the hip and ankle joints.
The angle of the pin is relevent to the leg's spread and toe angle. I drilled a 2.0mm hole, and a 1.0mm hole seperately to prevent rotation.
Make sure the 2 rods are parallel to each other.
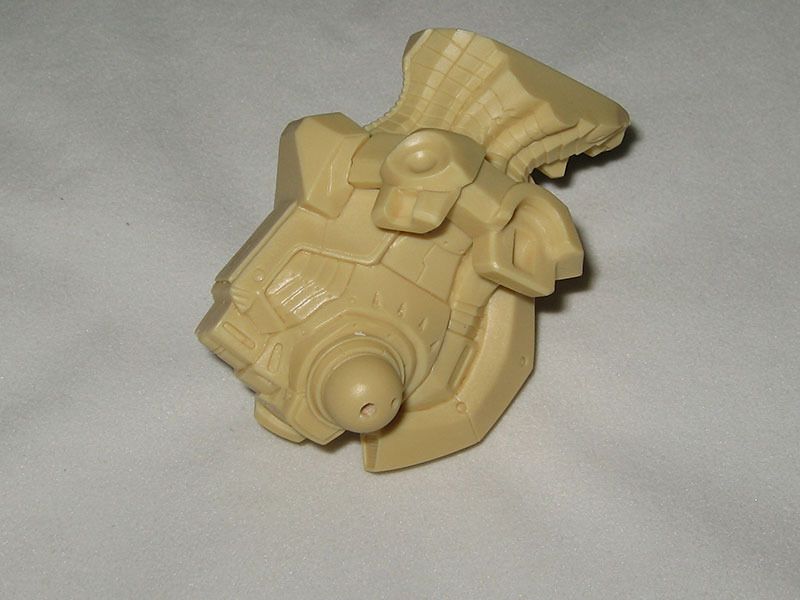
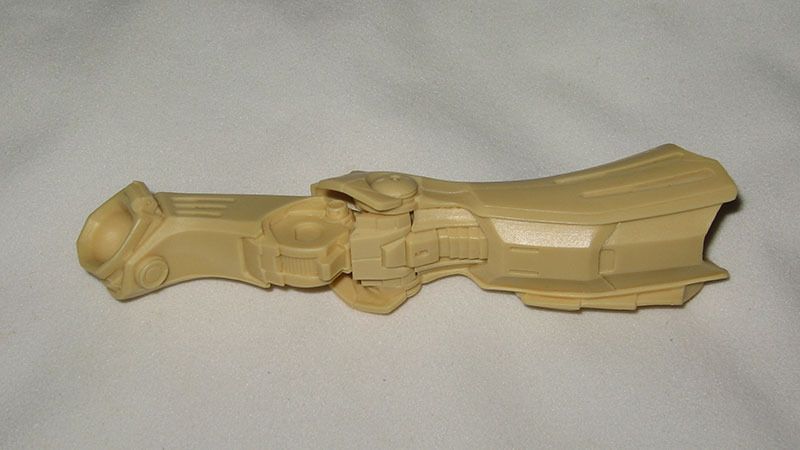
Upon further inspection, I felt something odd with the knees, they look dislocated, even though the angle is correct.
Refer to the Posture of Mortar Headds page to decide the angle of the knee.
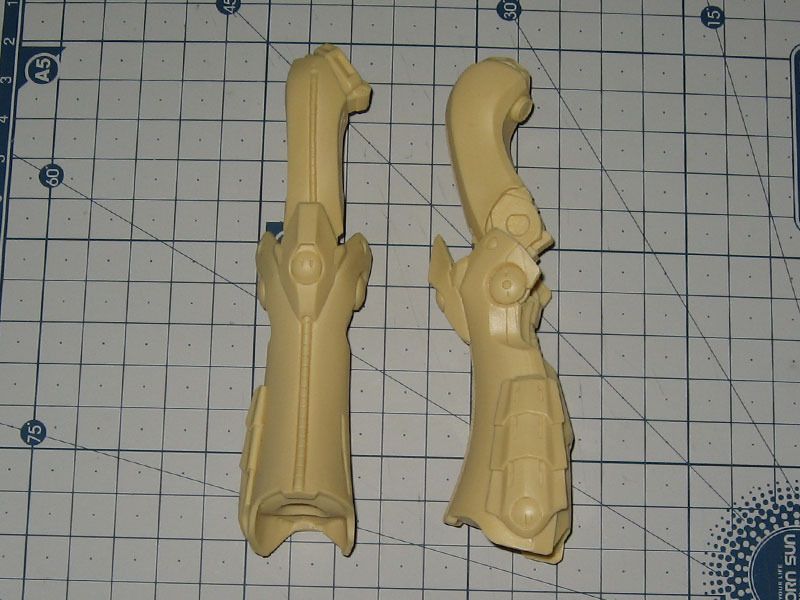
I tried to test fit the pieces to the back of the knees, there are gaps that will not close. I decided to undo the pinning.
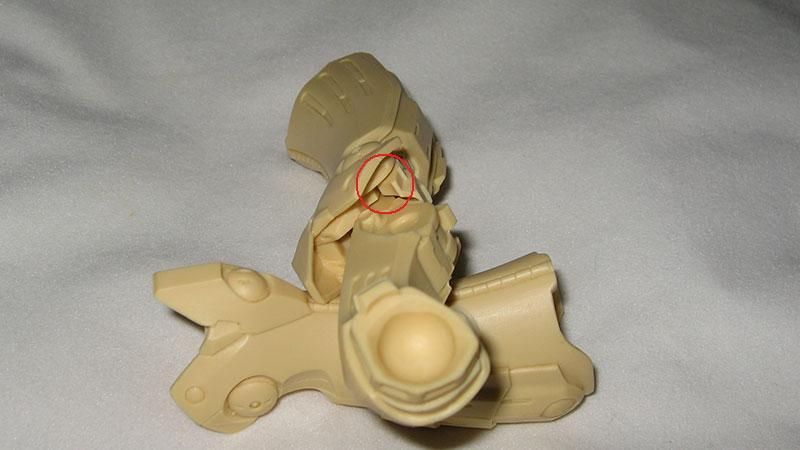
I would pull the pin out, then dig out the epoxy. The tight holes I drilled previously should always be the tight side. Always drill the side with the epoxy when re-doing steps, so there won't be 2 sides with two loose hole and epoxy stuffing.
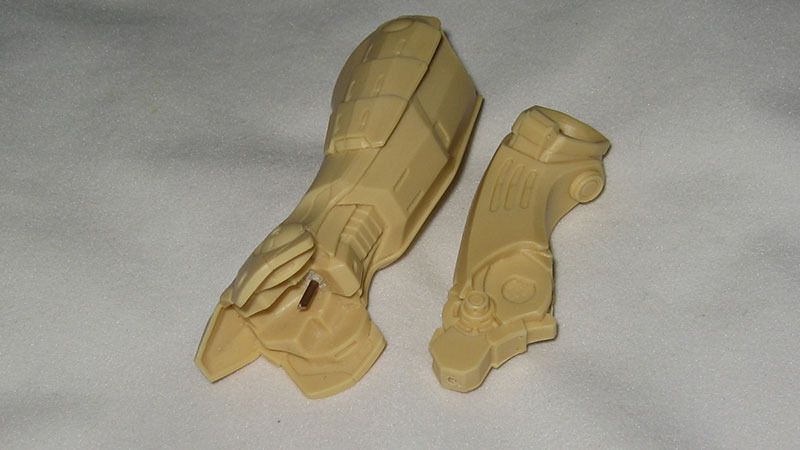
I removed the pins and drilled new hole on the sides with epoxy. Redo the pinning steps.
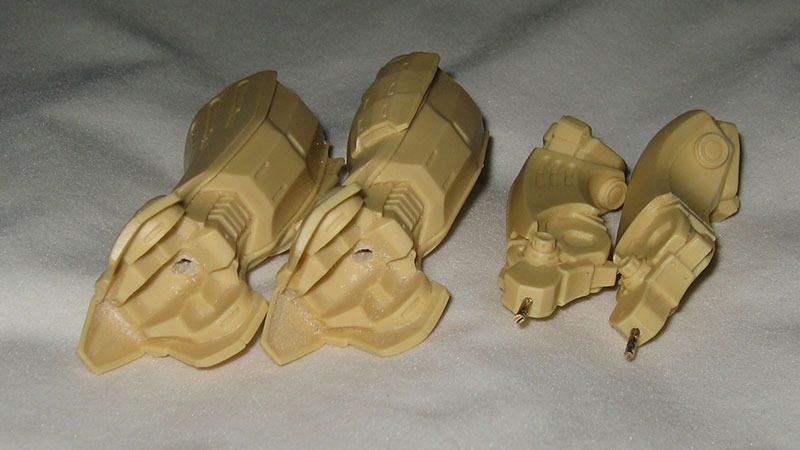
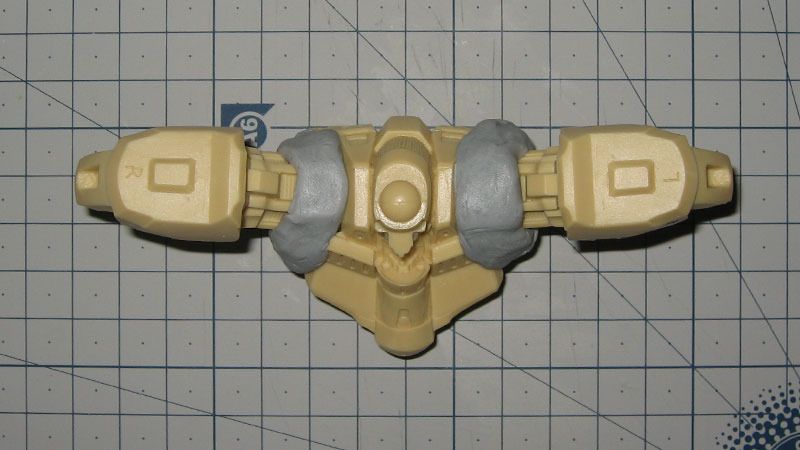
Meanwhile, I will prepare the holes on the hip and ankle joints, I used enamel paint to mark them this time.
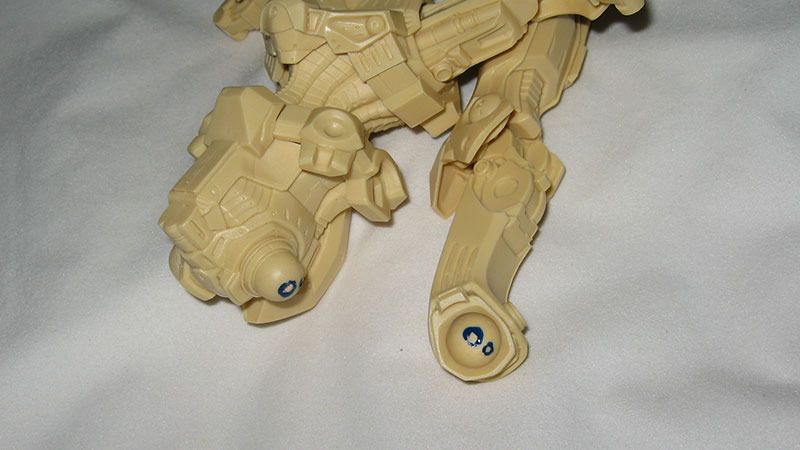
I prefer to have tight holes on the male side of the joint(the side with the ball shape), and have loose holes on the female side.
No comments:
Post a Comment