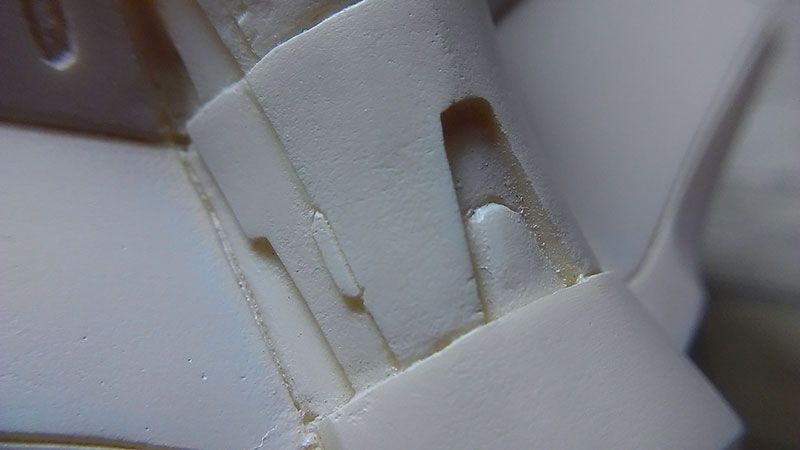
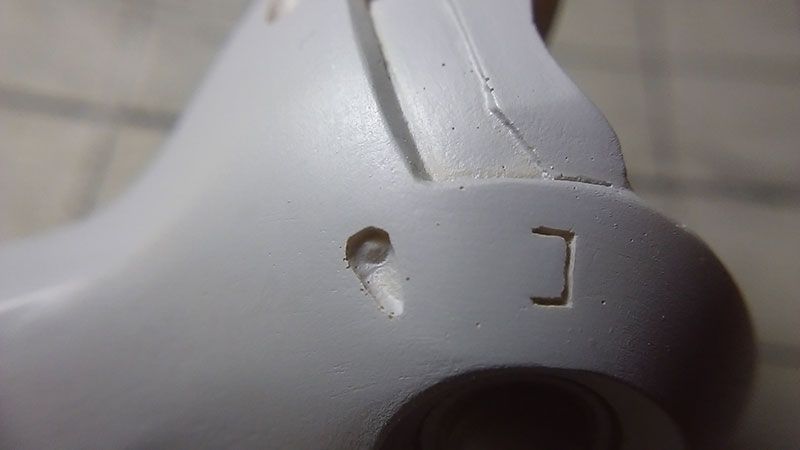
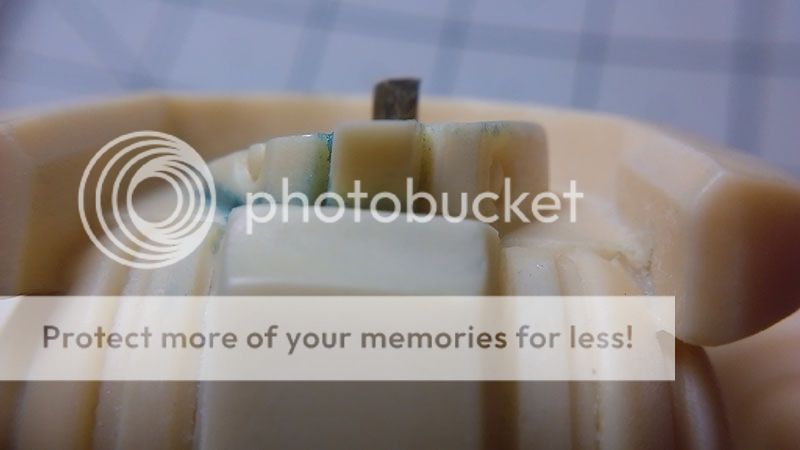
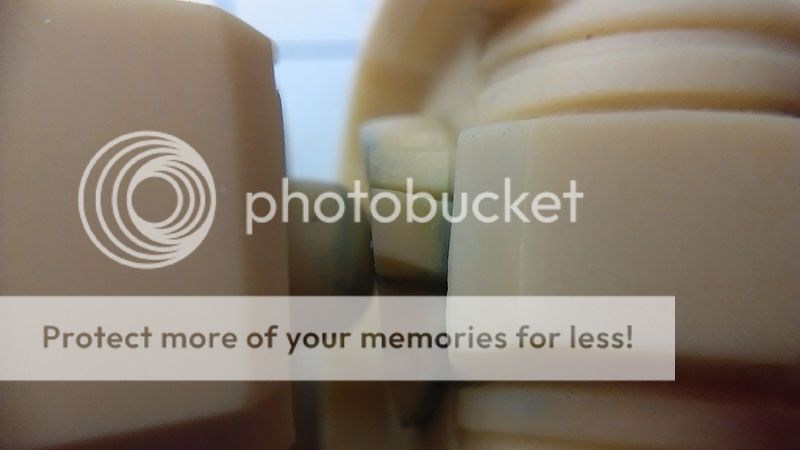
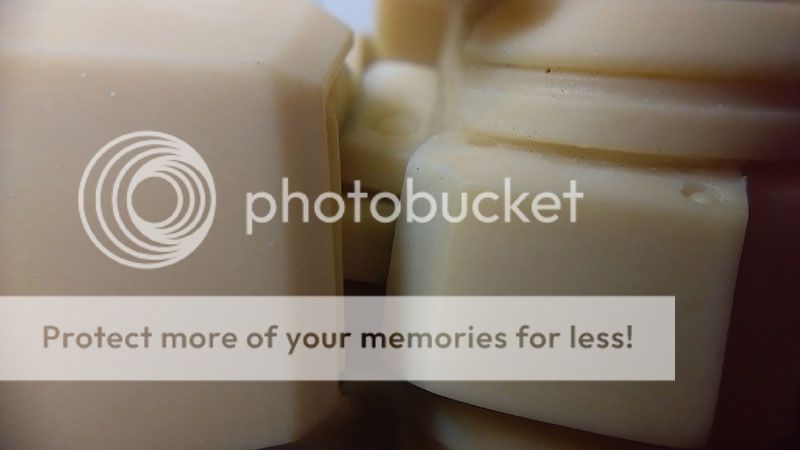
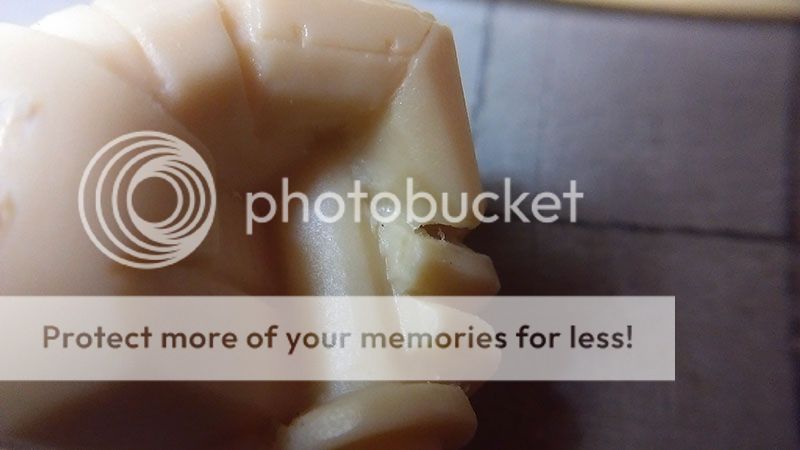
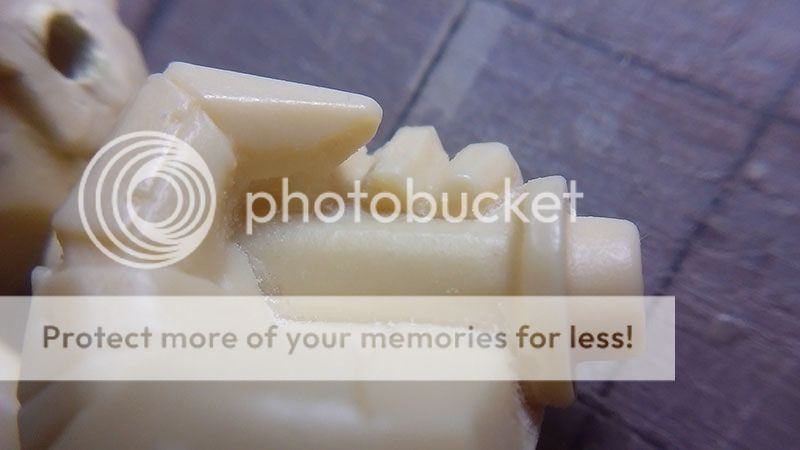
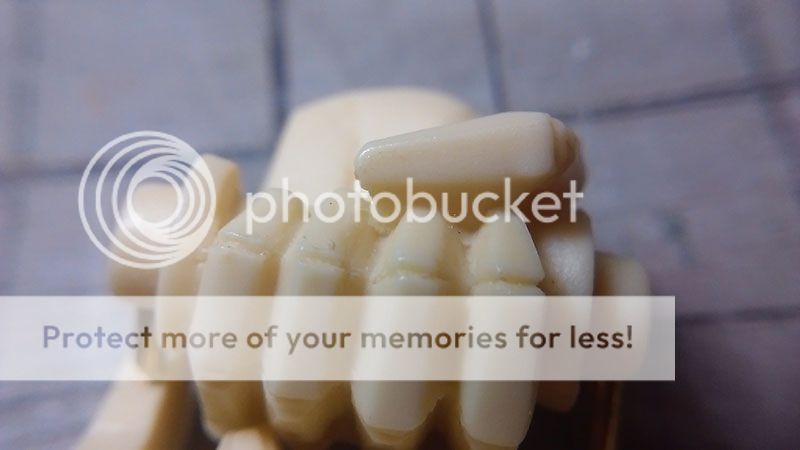
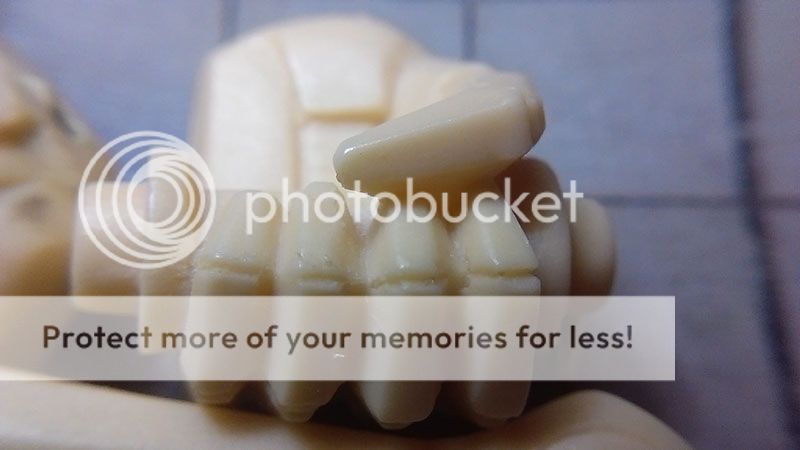
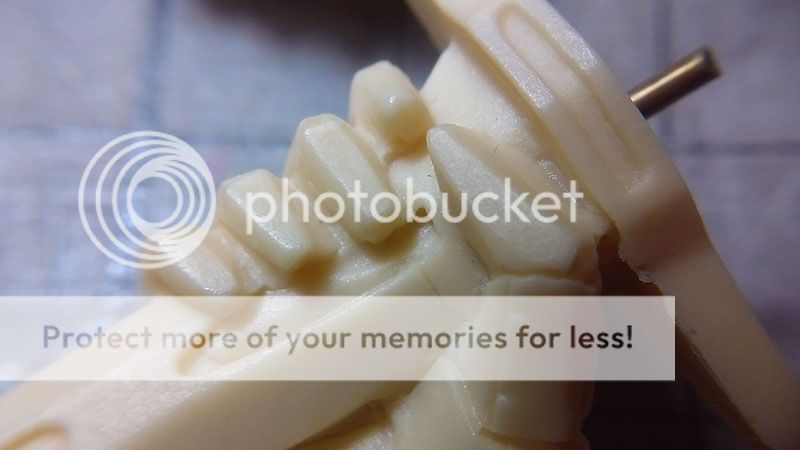
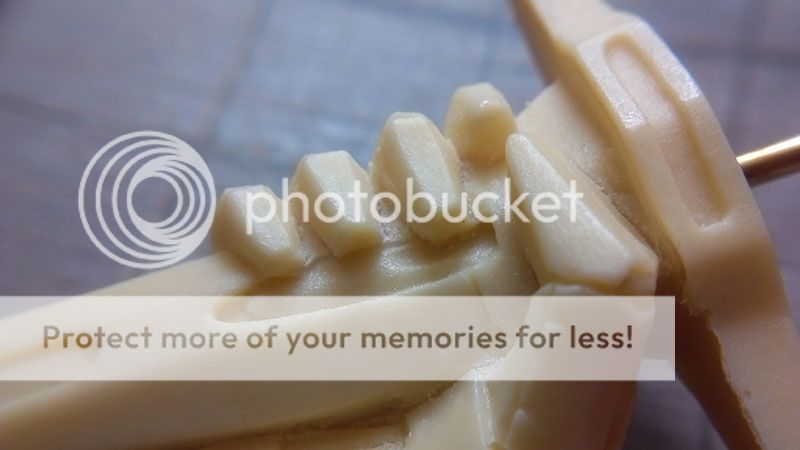
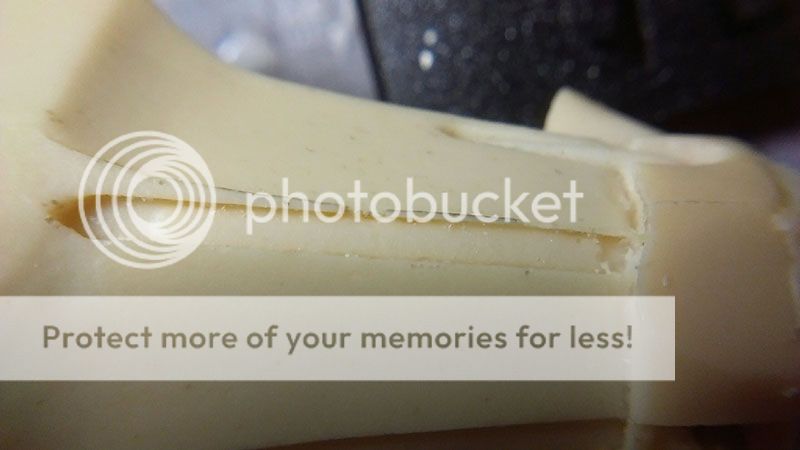
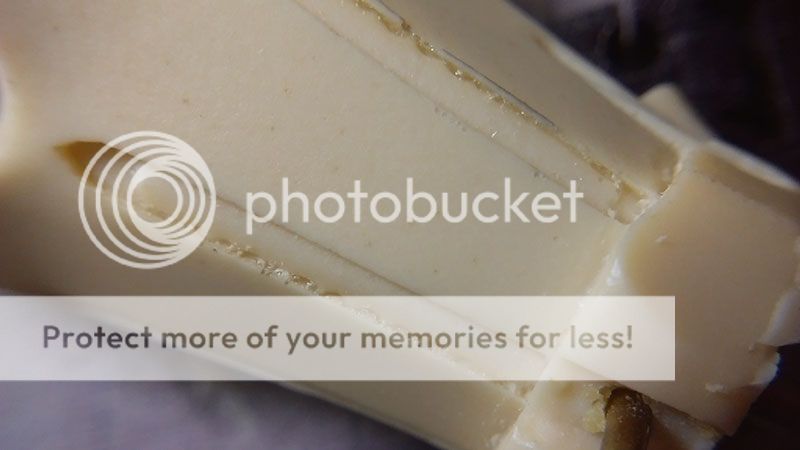
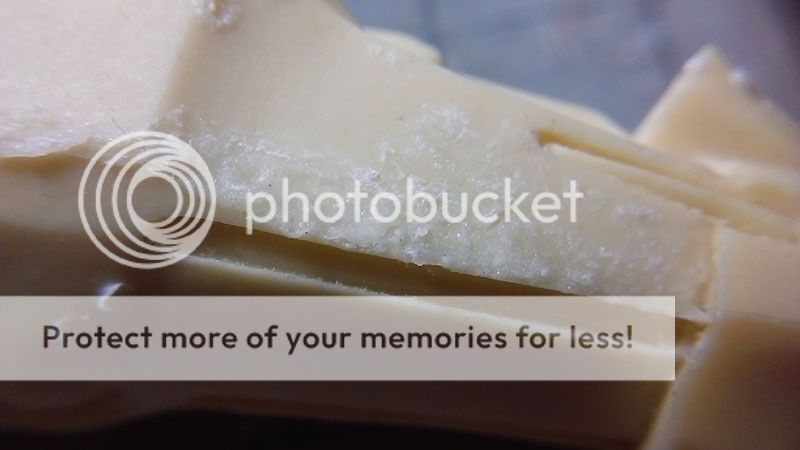
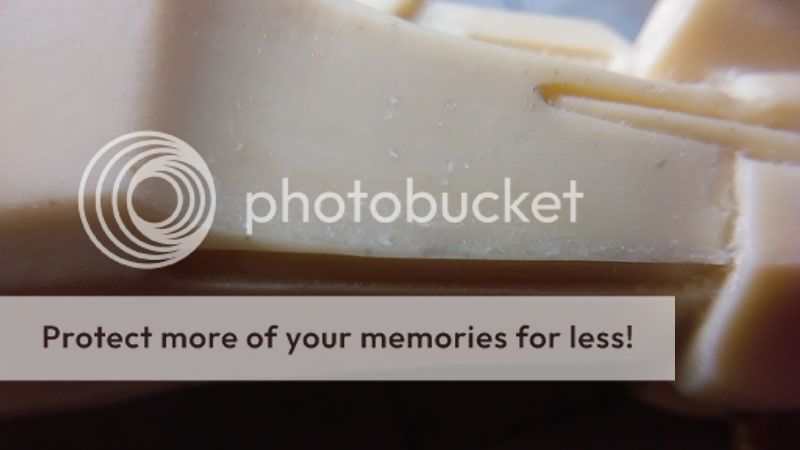
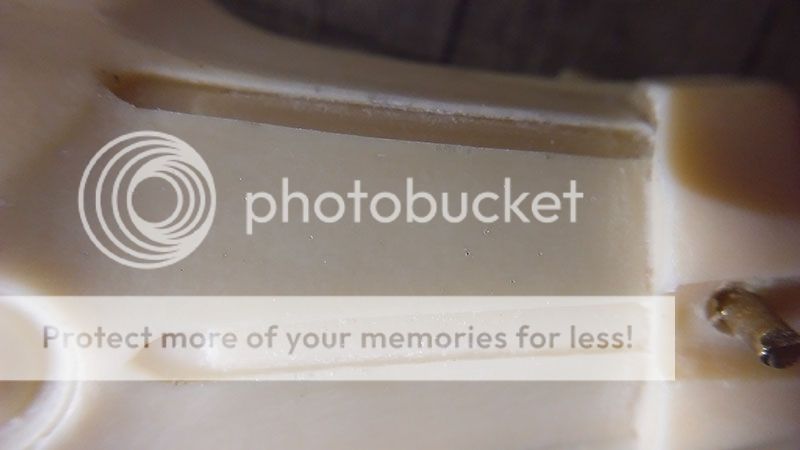
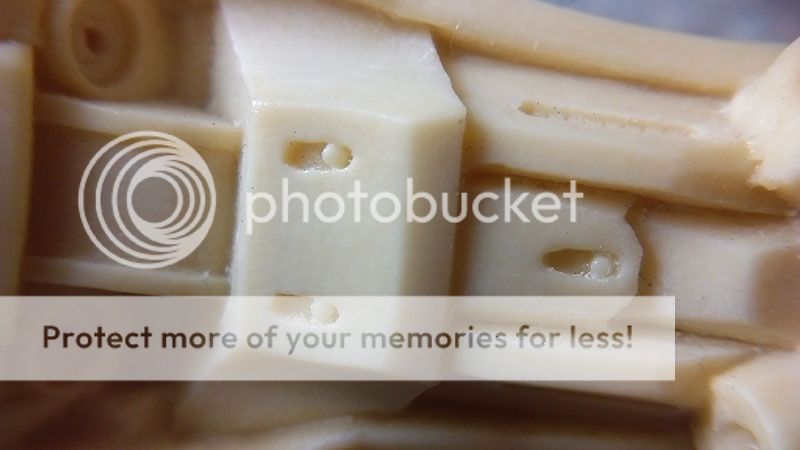
Some flaws can only be seen on macro, like this super tiny air bubble and that one
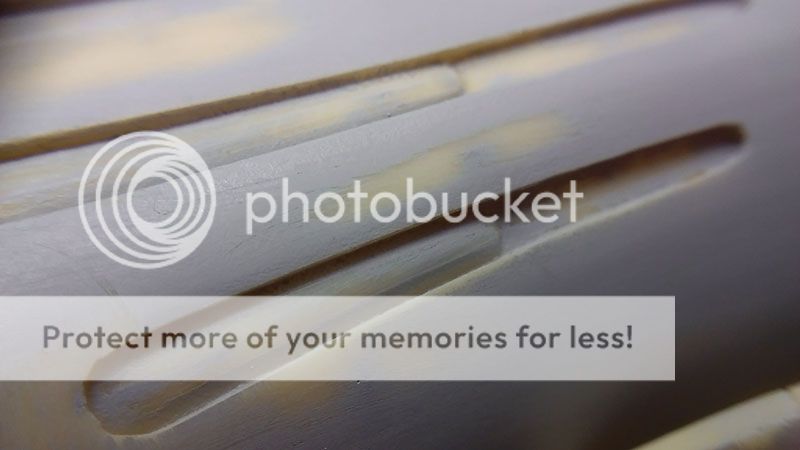
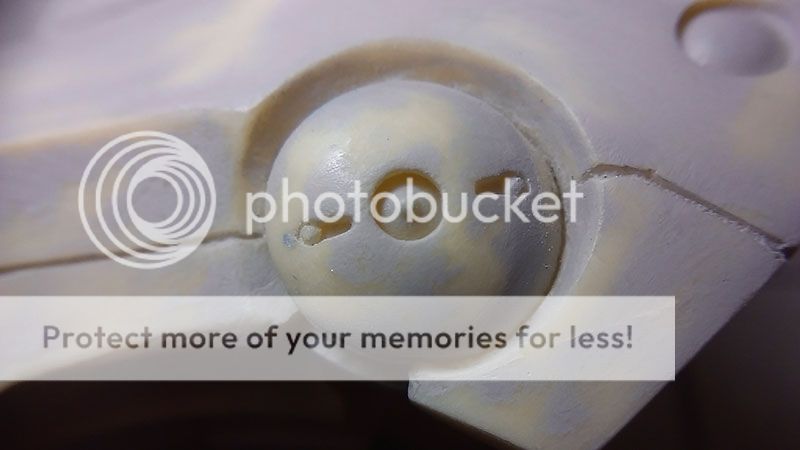
Some close up makes you feel powerless.
Here I found there might be some thick and rough primer on the original master, there are some rough primer texture and pooling.
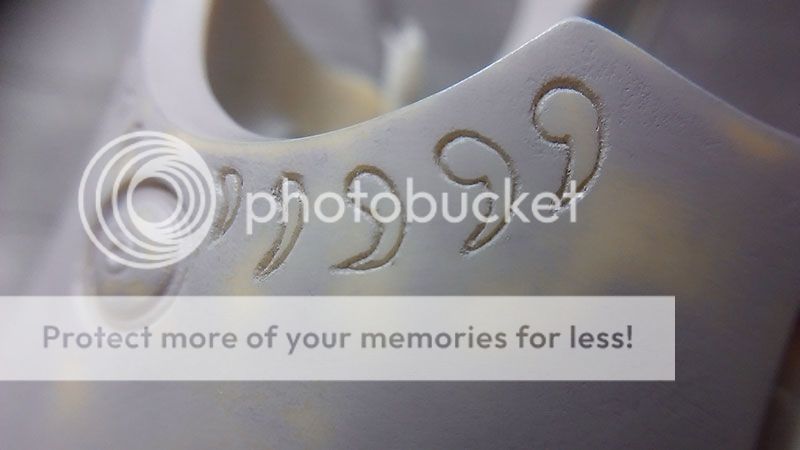
You could find scratch marks by the sculptor, these I also see as a form of spiritual communication.
I had sanded these with #800 paper before priming, the roughness in the details are not sanded here.
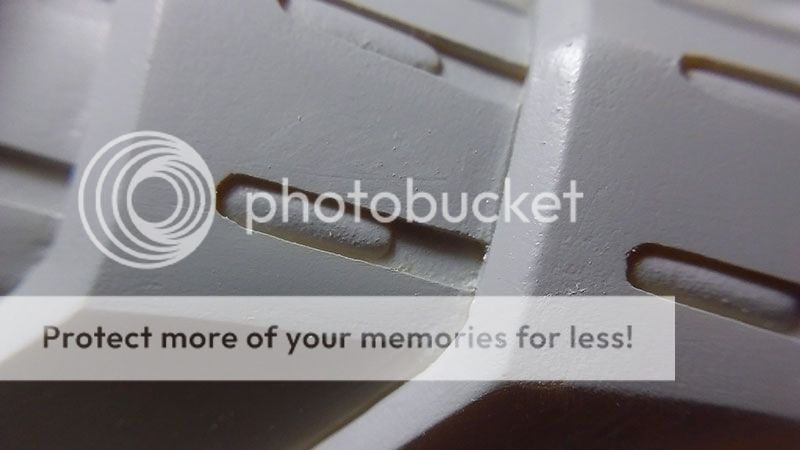
I wet sand every spot with 1200. Self confident restored for now, until I hit it again with primer.
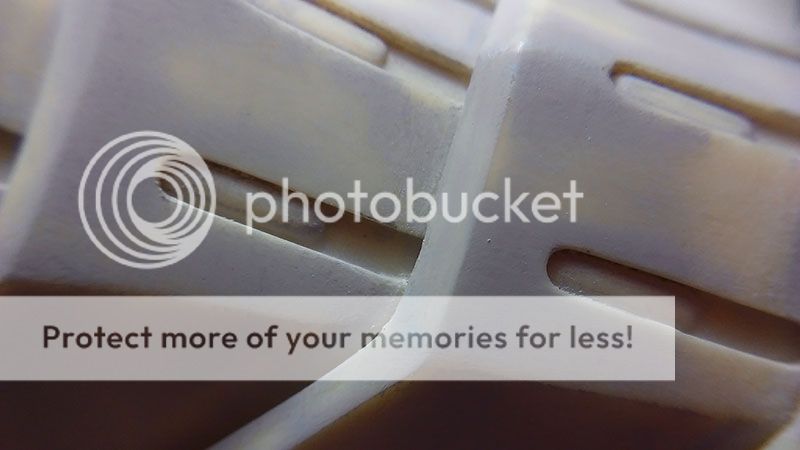
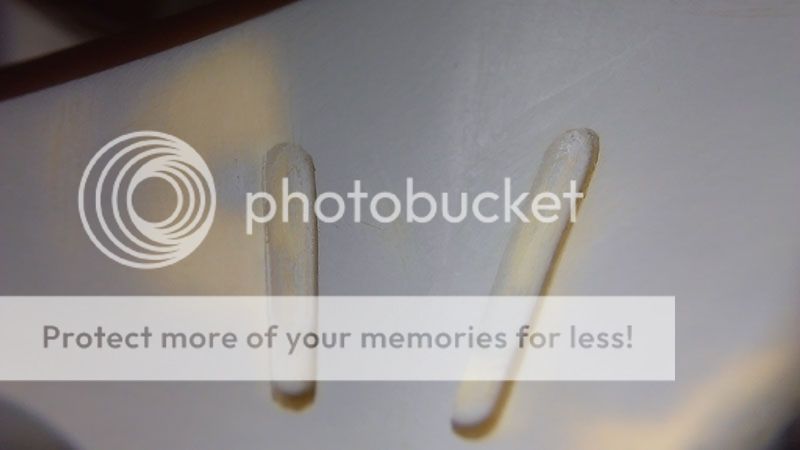
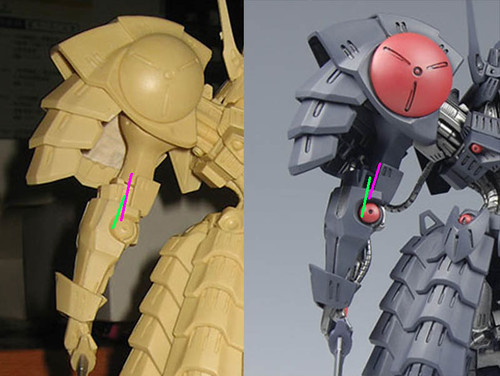
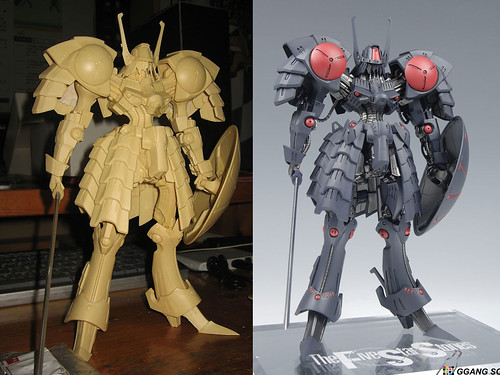
Update before -after
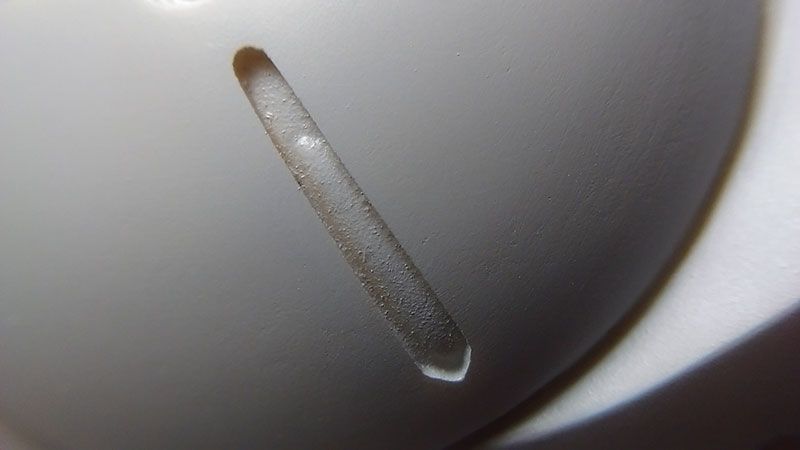
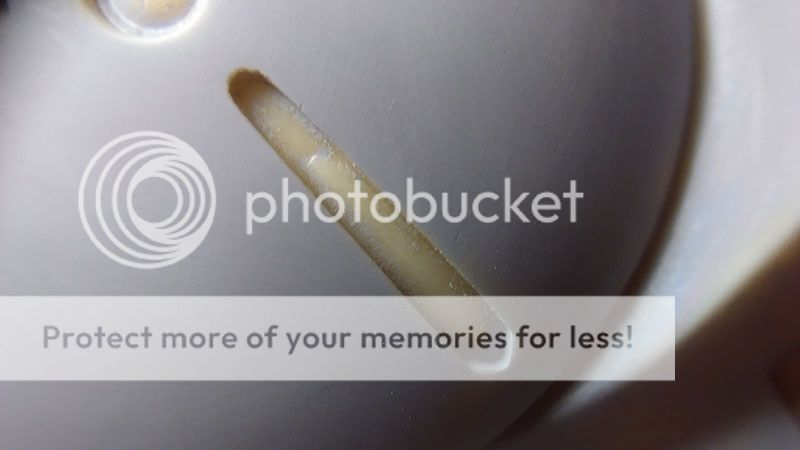
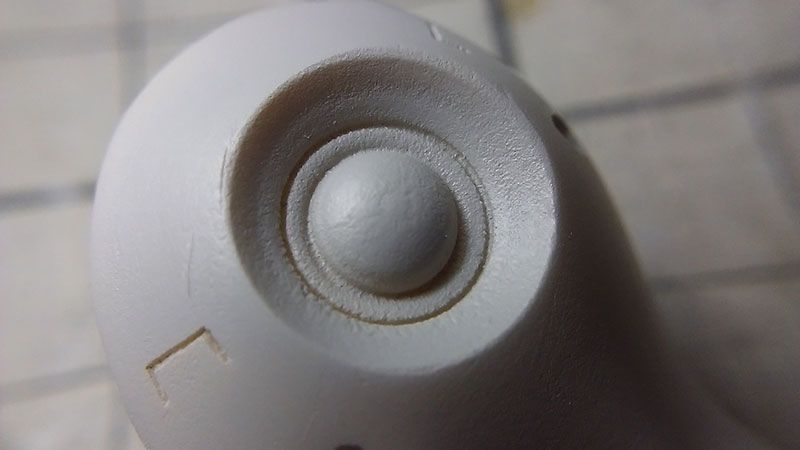
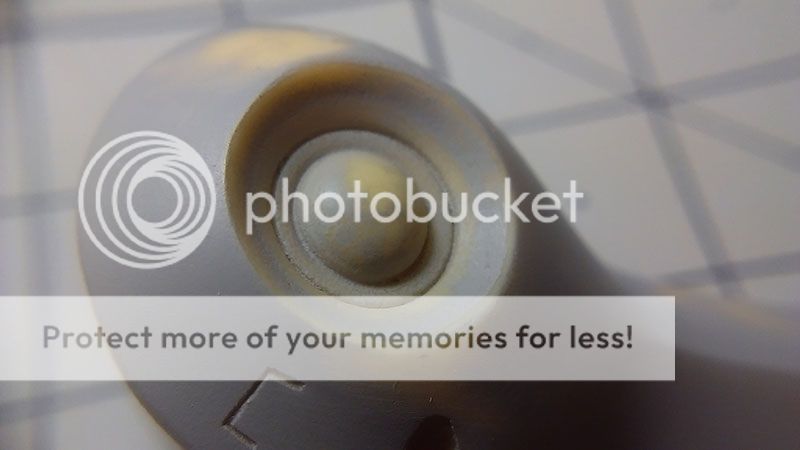
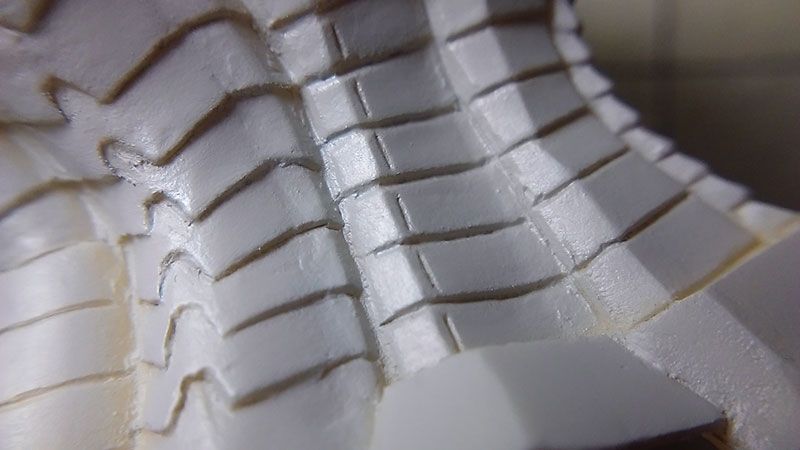
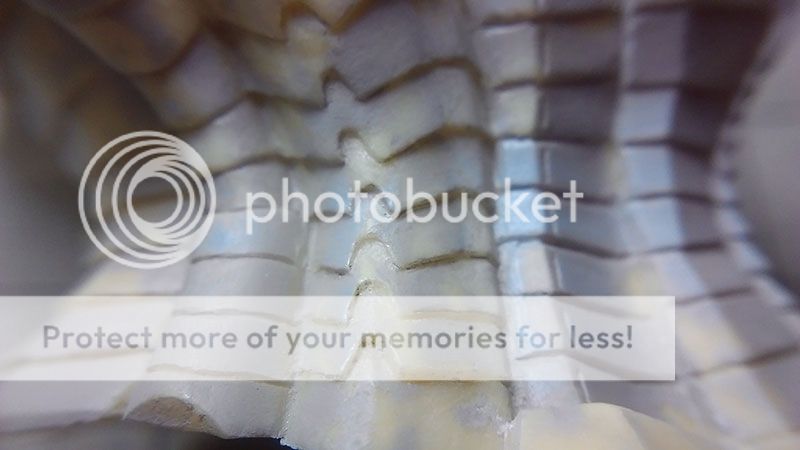
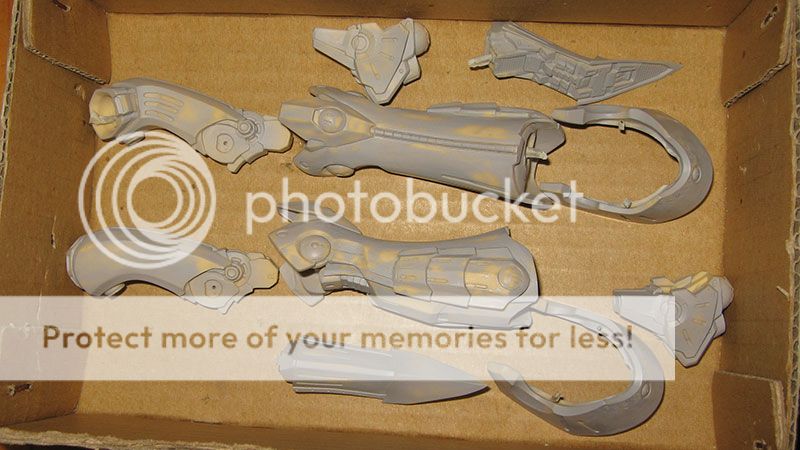
Again, just making sure it is well defined between the layers, without actual lines.
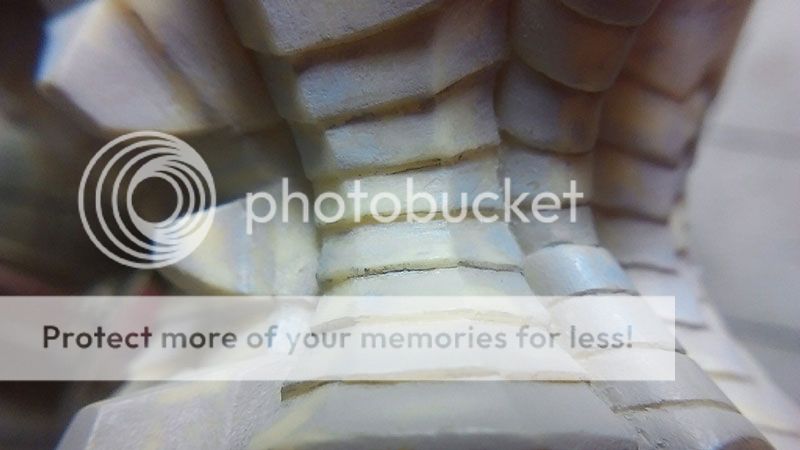
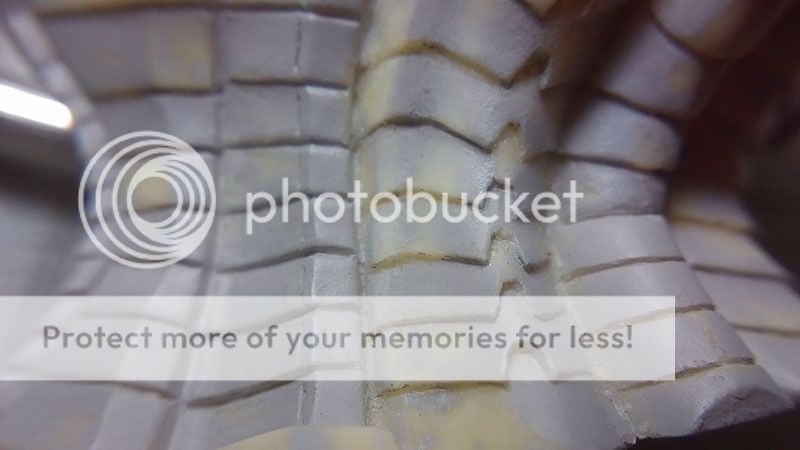
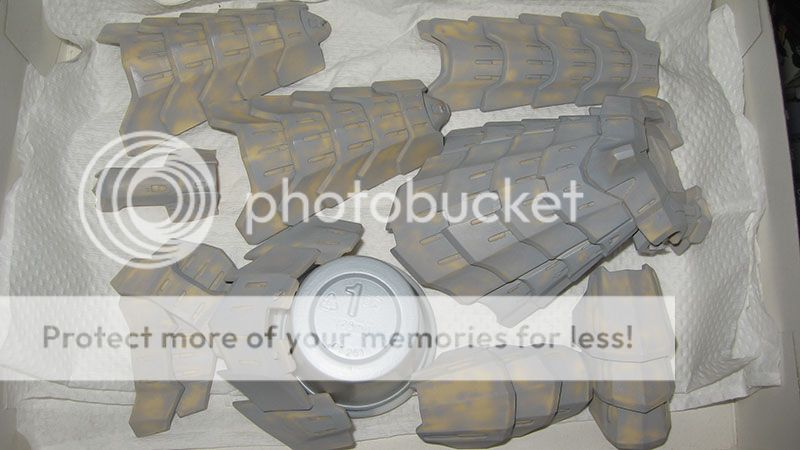
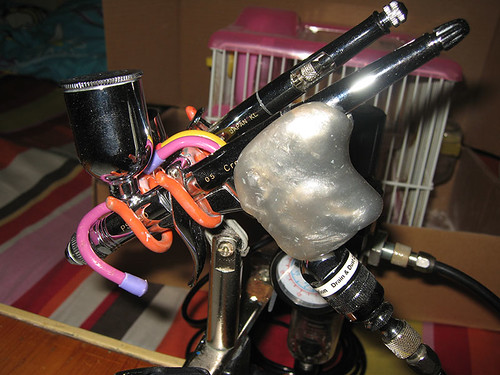
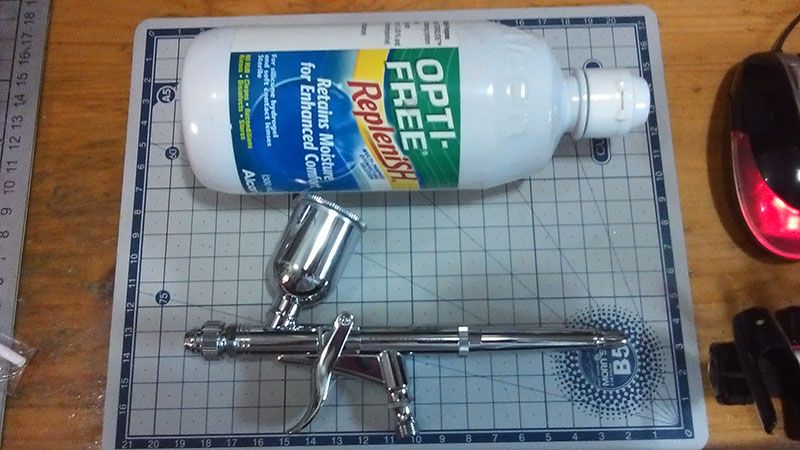
I did some modification on the airbrush and the hanger, I added a hand grip by stuffing it with formable resin.
Added a hook in the front of the hanger, so the airbrush doesn't tip over, with or without the hose on.
White metal part, I wanted to sand it a little before any filling.
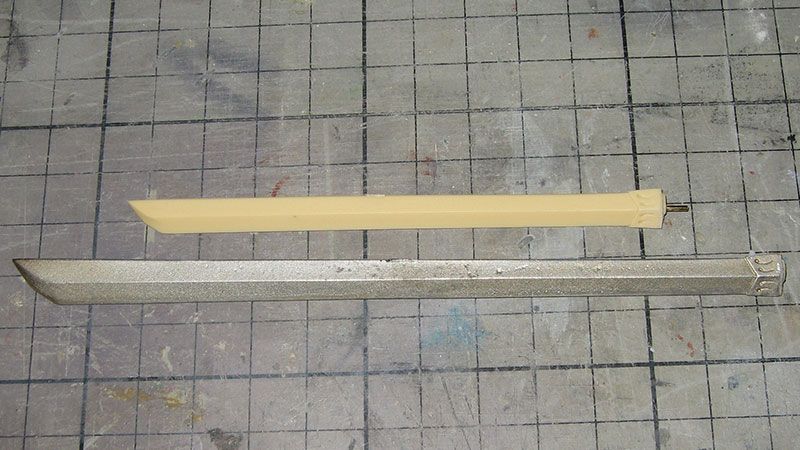
Close-up before the sanding.
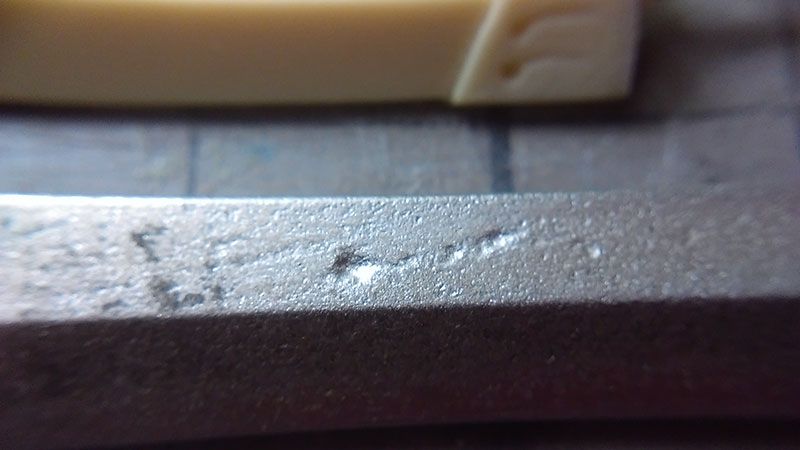
After sanding and close-up, as you see there are a lot of holes.
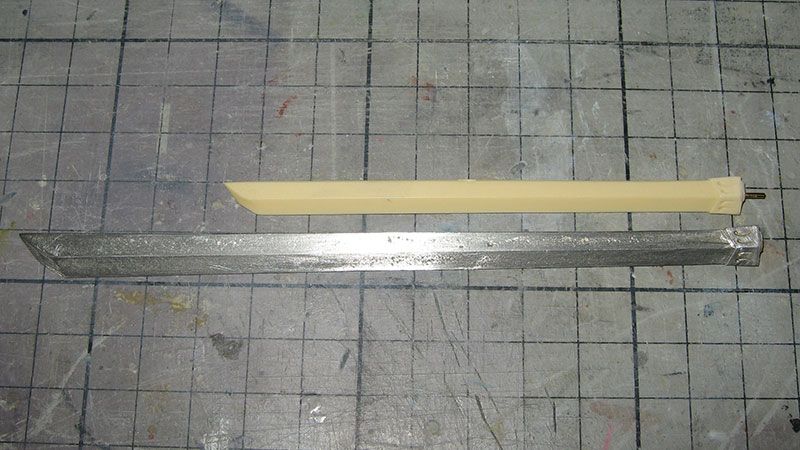
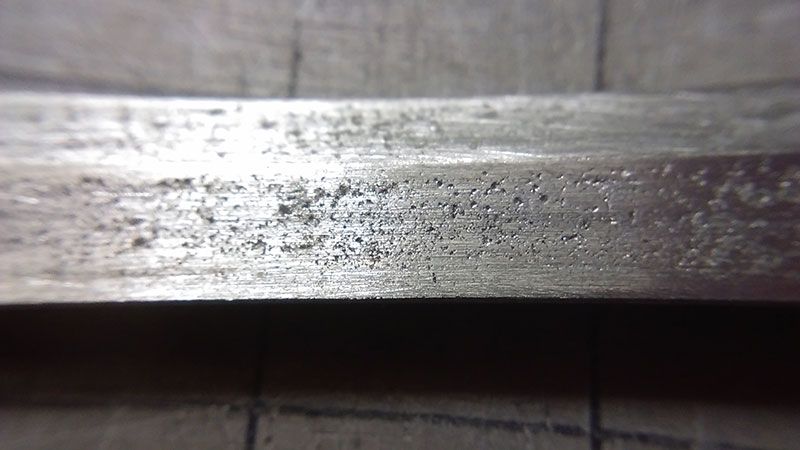
I filled the entire blade with CA+talc.
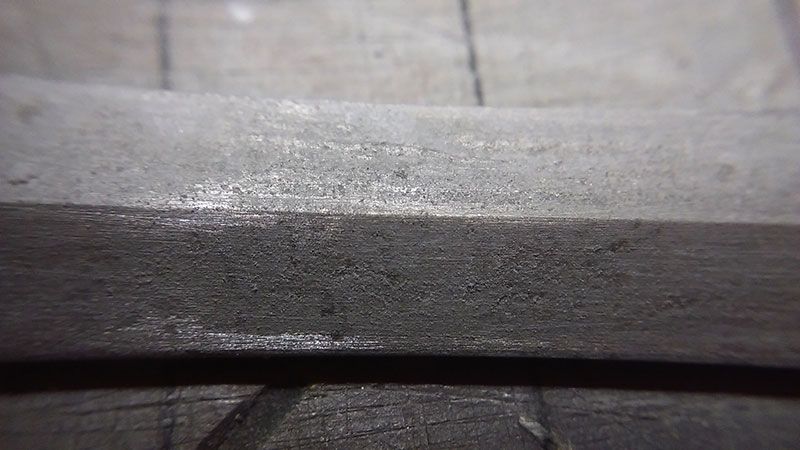
And it is roughly sanded down.
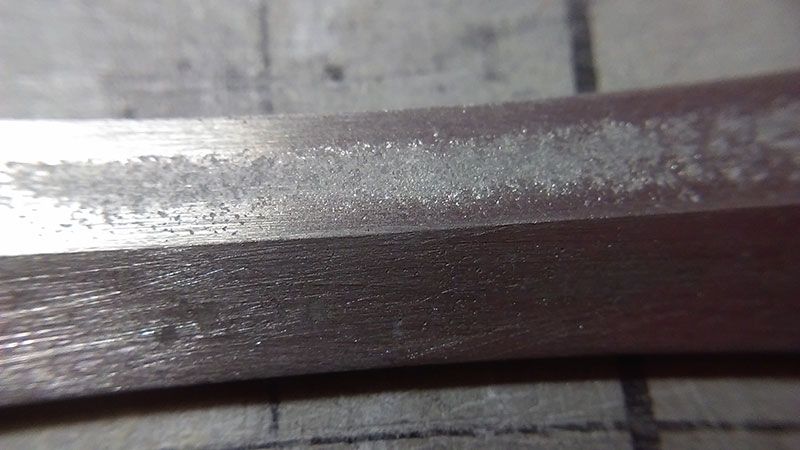
In the Factory book there is an interview with Tani and Ikushima where they discussed about the work process of implanting details on the Terror Mirage. These details on the shield are so beautifully implanted, I do not want to scribe a line in between them, that would be like removing the efforts the sculptor put into it.
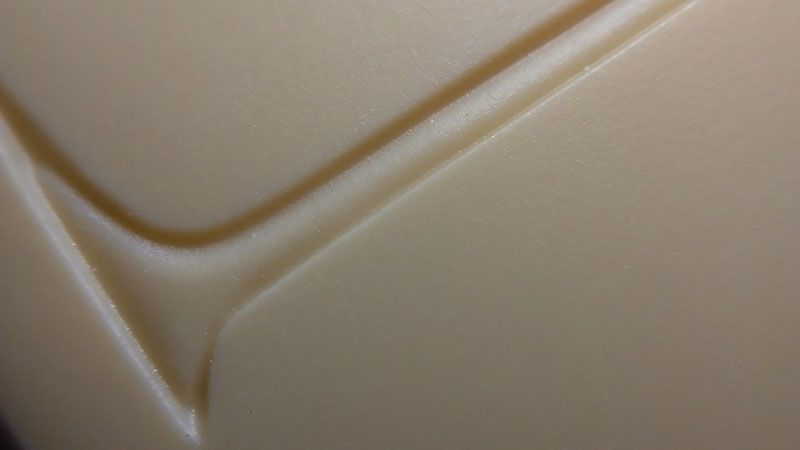
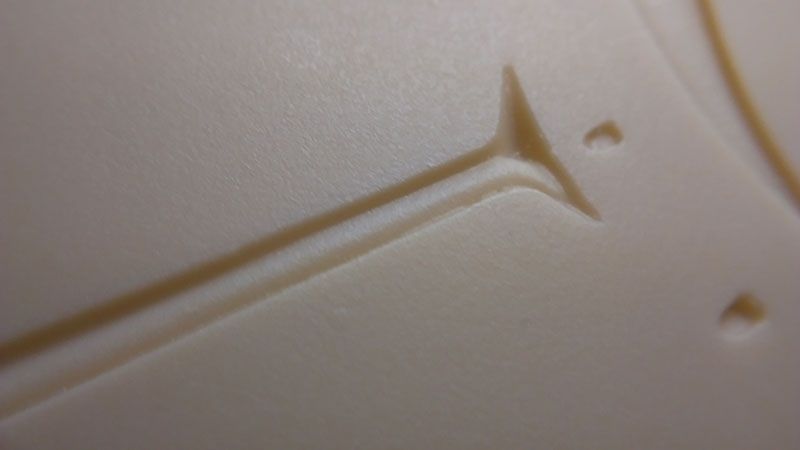
Instead, I only cleaned it up a little.
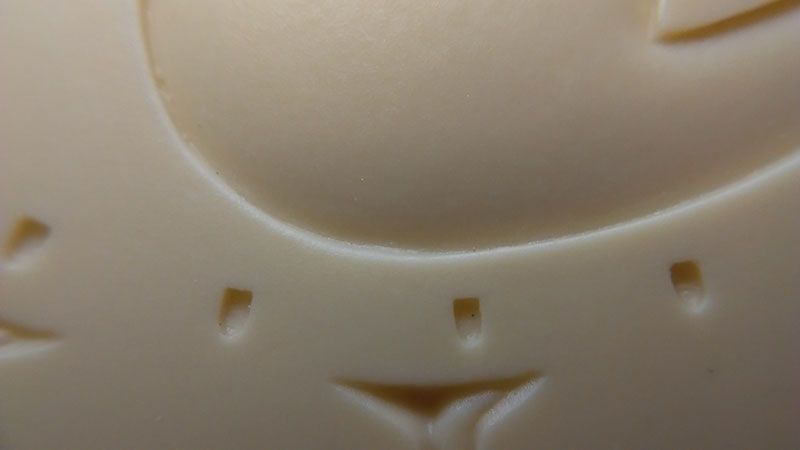
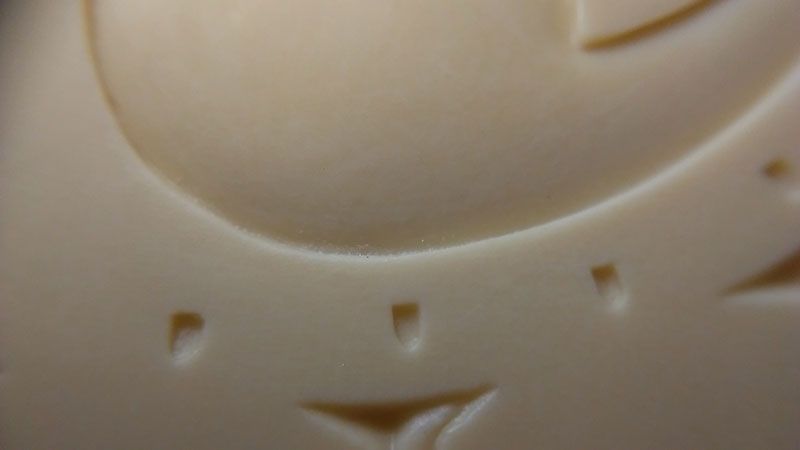
Started priming with the PS290!
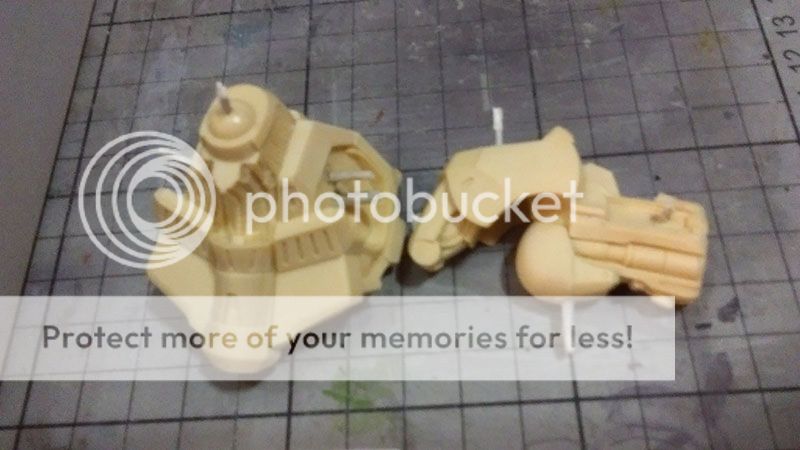
I took this from Travolta's SR1 WIP, covered the pins with tape.
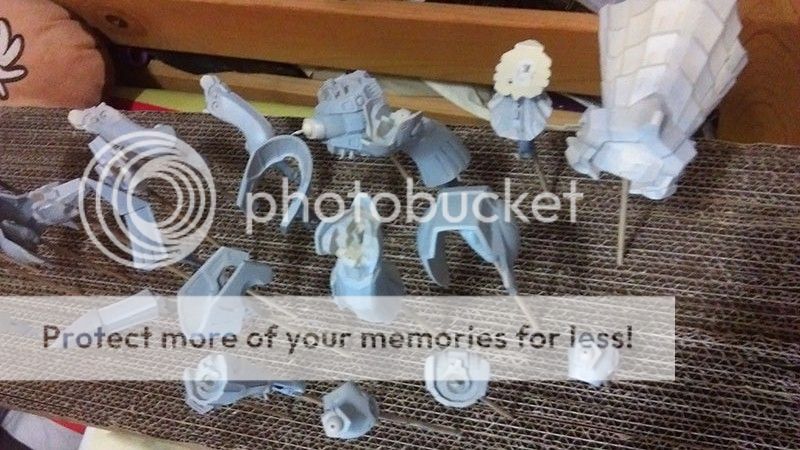
My DIY painting stick stand.
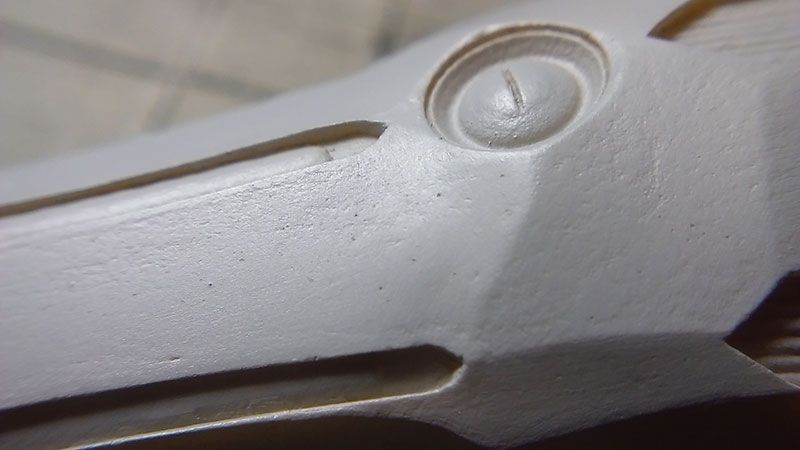
I'm very pleased with the result the PS290 gave, in this picture the smoother area are sanded with #800 paper and primed with 1000 primer. Compare it to the inside of the details where I didn't sand. The smooth spots are similar to the last primer I put on the Gastness. This time there is no crazy scratch marks by #400 paper, so I don't need to sand these spots before the base color.
This part here is where I sanded with #400 paper, it has a lot of peels, and some bubbles I didn't cover.
 [/URL]
Imperfect spots here and there.