Check out my page
dedicated to The Five Star Stories and Work Shop Cast (link opens in a new window)
五星物語重戰機專頁 (另開新頁)
http://www.geocities.jp/ingenhk0083/

Tuesday, July 26, 2016

WSC Vatshu The Black Knight 進度二十三

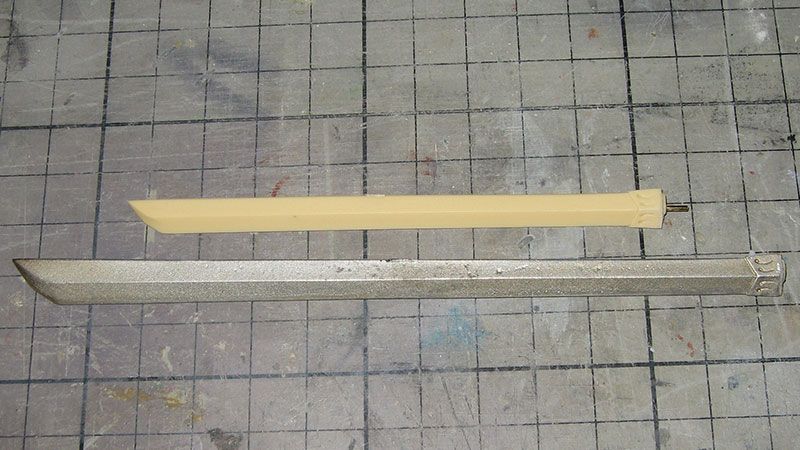
White metal part, I wanted to sand it a little before any filling.
Posted Image
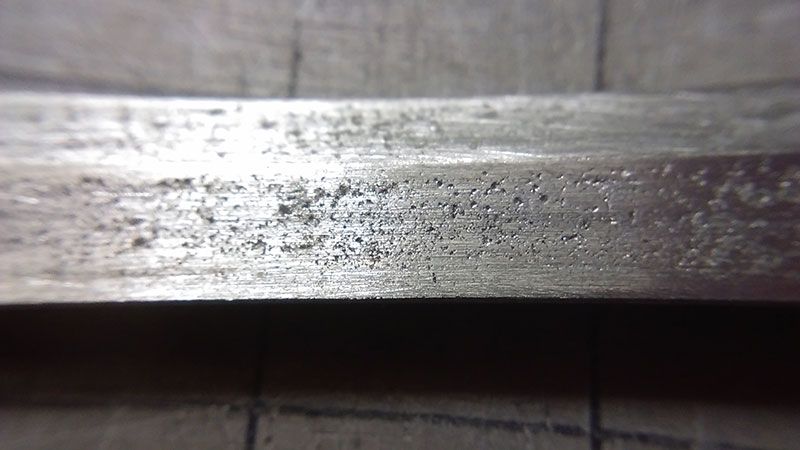
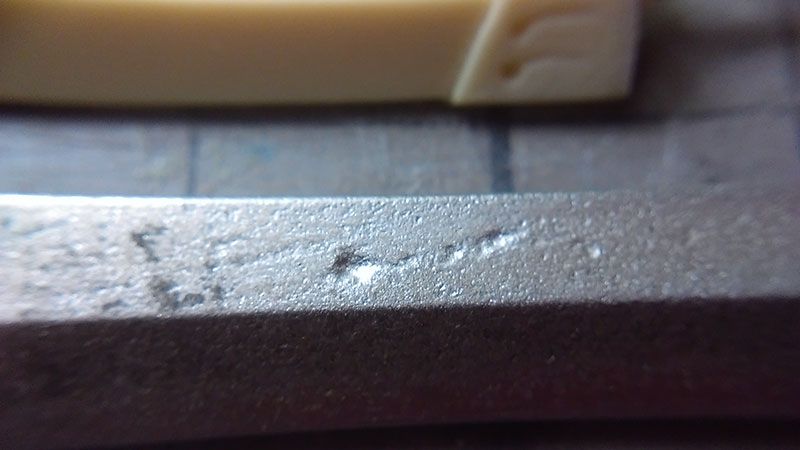
Close-up before the sanding.
Posted Image

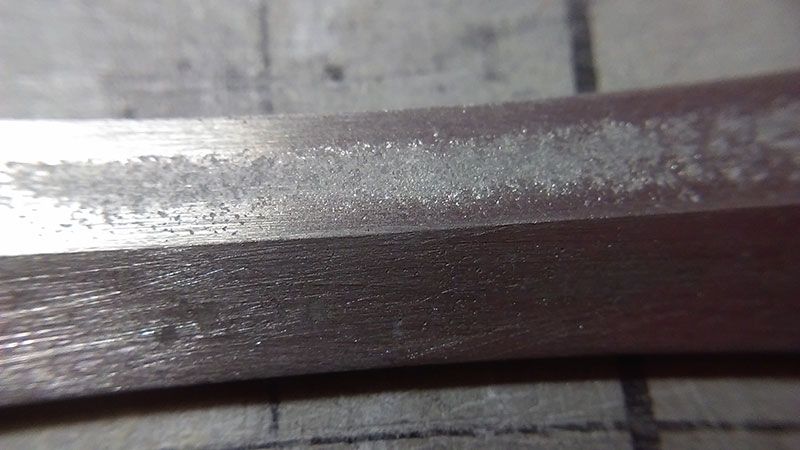
After sanding and close-up, as you see there are a lot of holes.
Posted Image
Posted Image

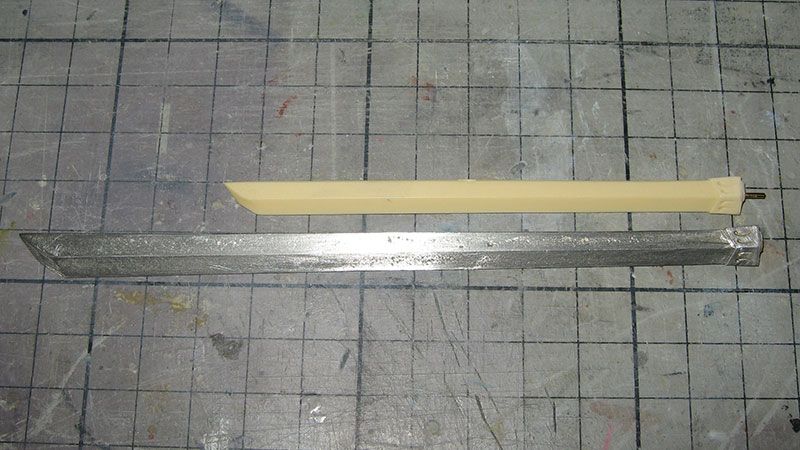
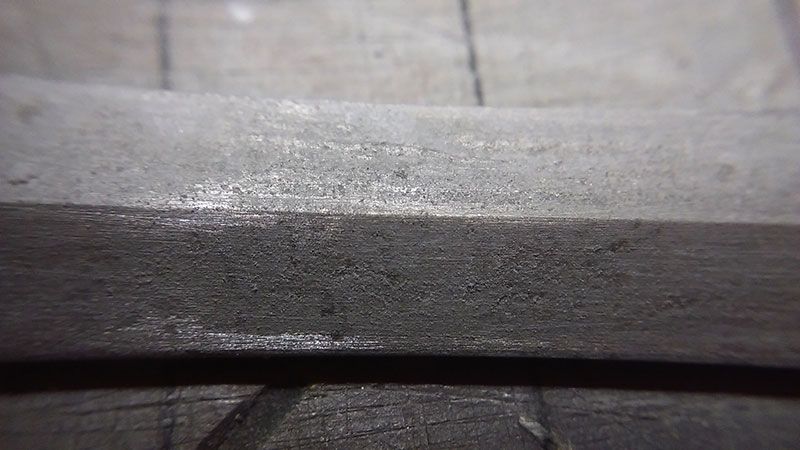
I filled the entire blade with CA+talc.
Posted Image

And it is roughly sanded down.
Posted Image

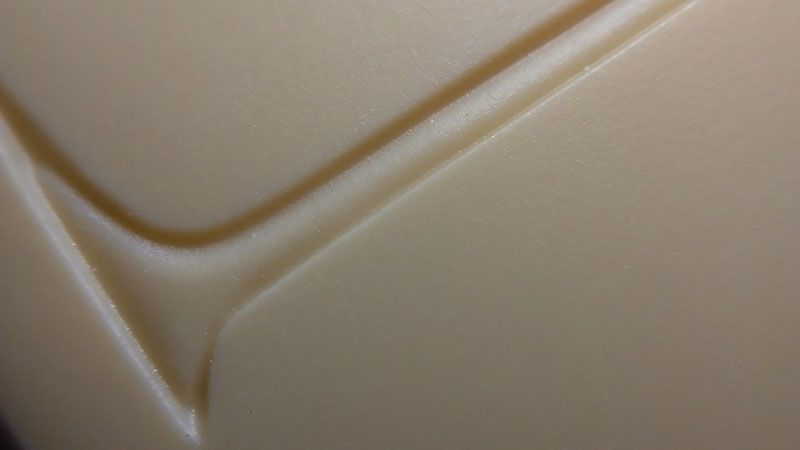
In the Factory book there is an interview with Tani and Ikushima where they discussed about the work process of implanting details on the Terror Mirage. These details on the shield are so beautifully implanted, I do not want to scribe a line in between them, that would be like removing the efforts the sculptor put into it.
Posted ImagePosted Image

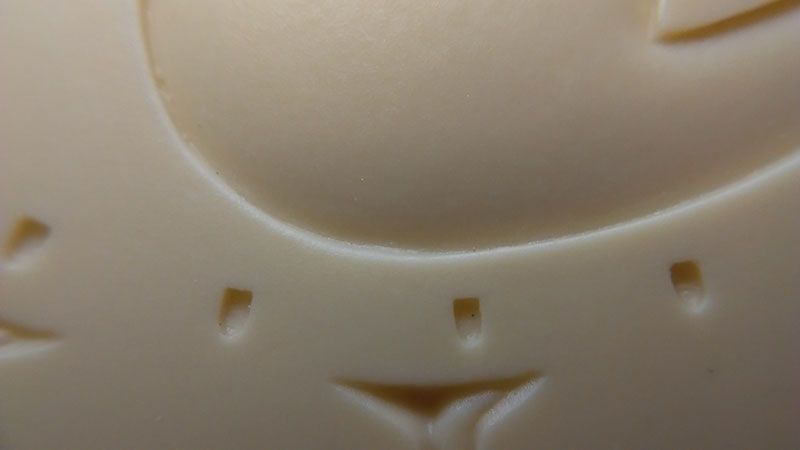
Instead, I only cleaned it up a little.
Posted ImagePosted Image

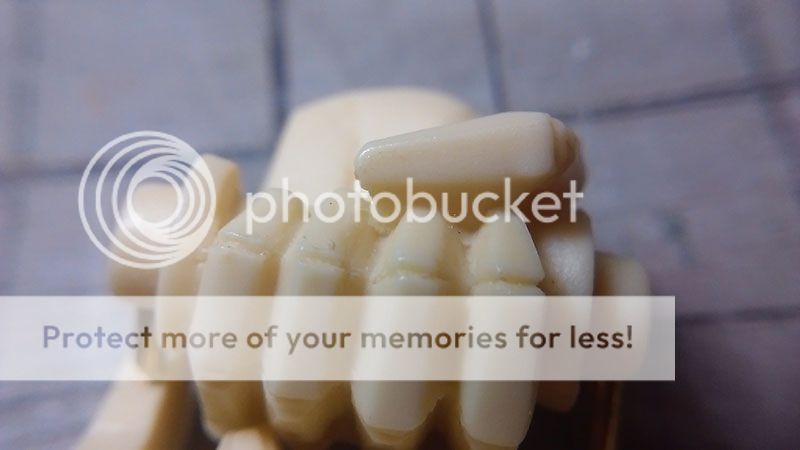
Started priming with the PS290!
Posted Image

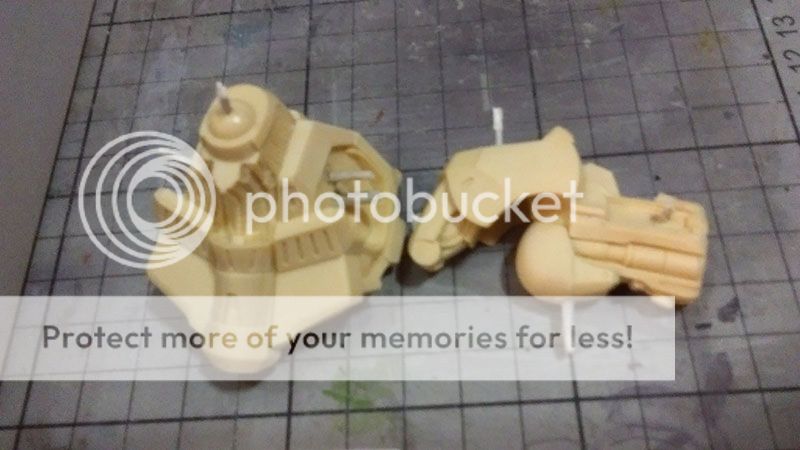
I took this from Travolta's SR1 WIP, covered the pins with tape.
Posted Image

My DIY painting stick stand.
Posted Image

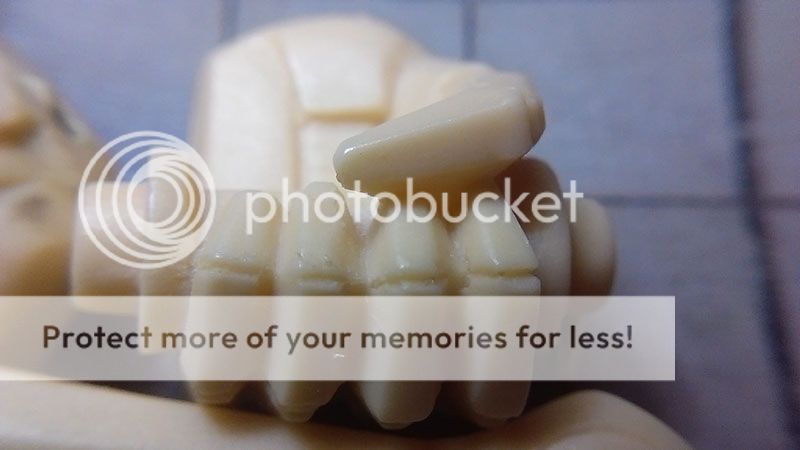
I'm very pleased with the result the PS290 gave, in this picture the smoother area are sanded with #800 paper and primed with 1000 primer. Compare it to the inside of the details where I didn't sand. The smooth spots are similar to the last primer I put on the Gastness. This time there is no crazy scratch marks by #400 paper, so I don't need to sand these spots before the base color.
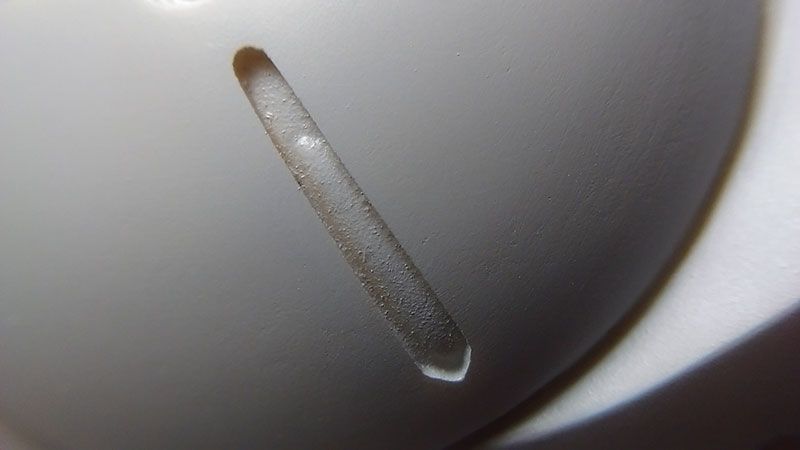
Posted Image
Posted Image

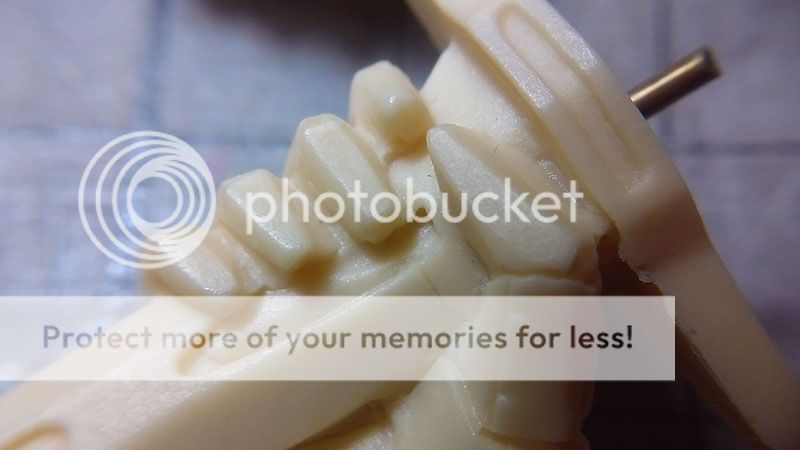
This part here is where I sanded with #400 paper, it has a lot of peels, and some bubbles I didn't cover.
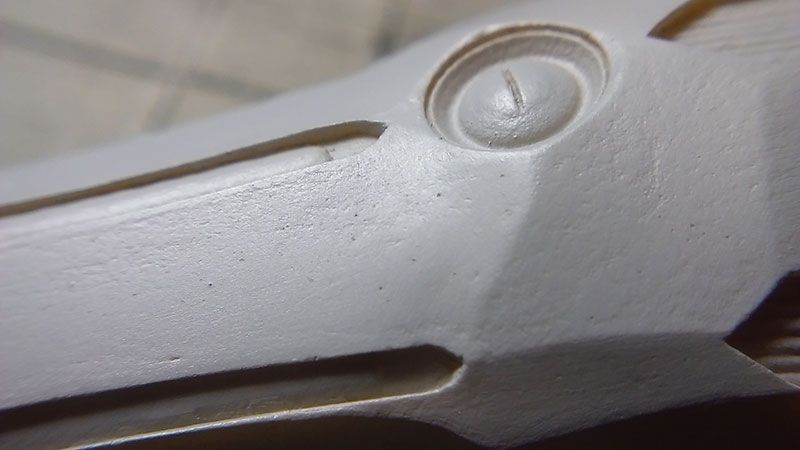
Posted Image[/URL]

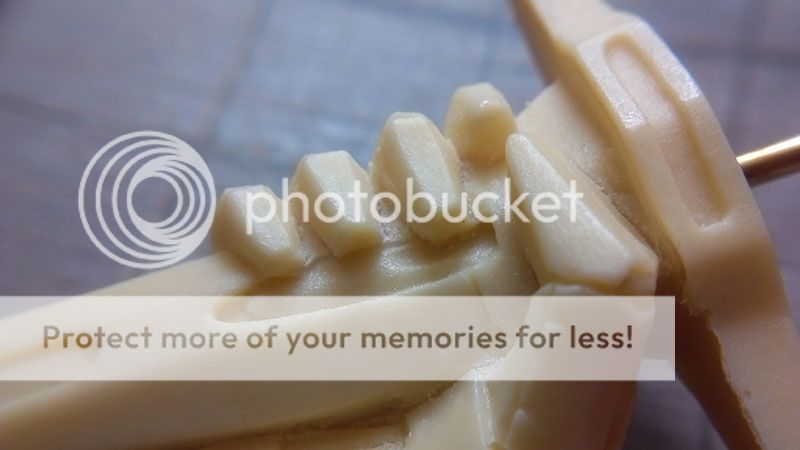
Imperfect spots here and there.
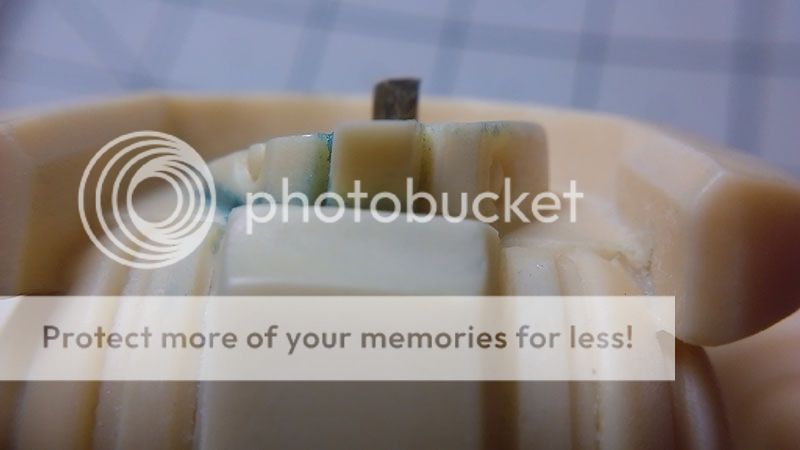
Posted ImagePosted ImagePosted Image

Monday, July 18, 2016

WSC Vatshu The Black Knight 進度二十二

The commonly seen arms line and silhouette. 
Posted Image

Arms on Takeya's
Posted Image

The lines and expression changed due to a slight change in angle.
Posted ImagePosted Image

I took better pictures of the elbow mod.
Posted ImagePosted ImagePosted Image

Did some cleaning.
Posted ImagePosted Image

WSC Vatshu The Black Knight 進度二十一

The mold lines(with step!) are right on top of the edge on these lower arm parts.
Posted Image

Along with wavy lines and air bubbles.
Posted Image

In the case of wanting to keep the thickness of the edges. I built up the thickness with CA glue+talc before the sanding.
Posted Image

Result: straight lines and edges with the desired thickness.
Posted ImagePosted Image

Also sanded and cleared up the inside.
Posted Image

Saturday, June 25, 2016

WSC Vatshu The Black Knight 進度二十

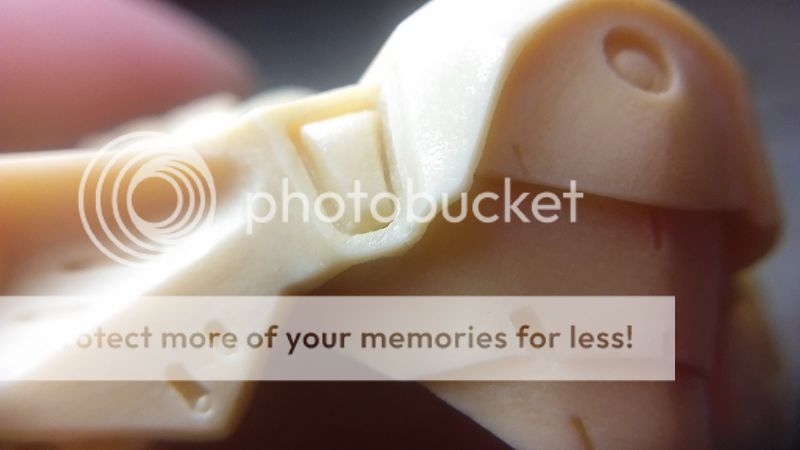
There was a tiny step from the parting line on the sides of the waist.
I filled the difference with CA+talc and sanded.
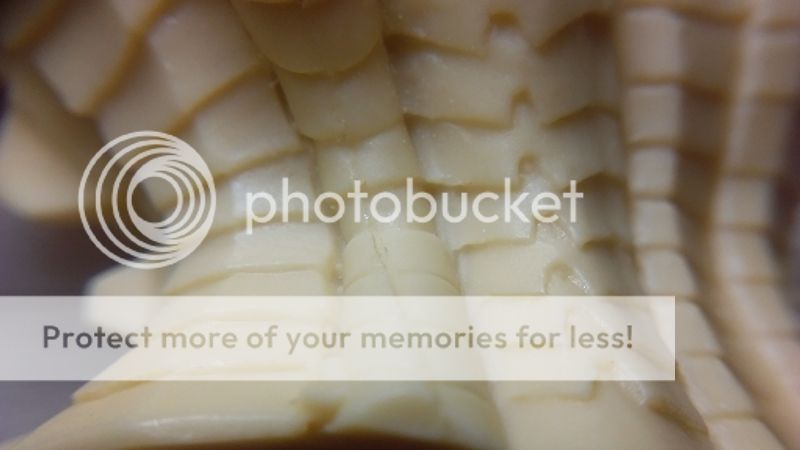
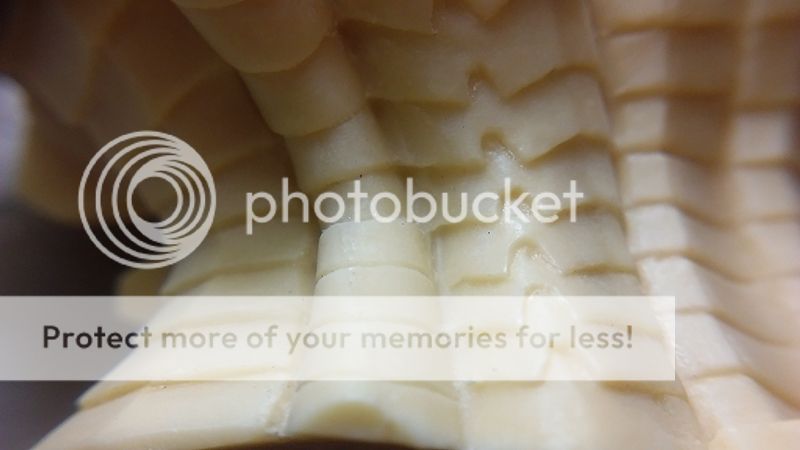
Instead of scribing lines, I sharpen the steps between the details just a little bit, so I could draw out those lines after applying the main color in controlled thin coats.
Posted ImagePosted Image

I used a pair of tweezers to hold the sandpaper in such a way, to smooth out these hard to reach areas.
(Turned out I prefer using tweezers, for better control)
Posted ImagePosted Image
Posted Image

Friday, June 10, 2016

WSC Vatshu The Black Knight 進度十九

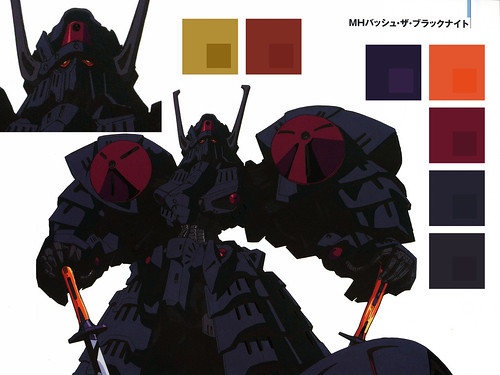
Color scheme.
The bigger squares are the colors that I eye ball -ed. While the smaller squares show the colors from PS dropper.
The dropped ones are either brighter or darker than the ones I eye ball -ed.
Take the red on the round thingy on the shoulder, for instance, because of the 3 shades, it appeared brighter to the eyes. I guess I will go for the one that feels right.
The eyes have no red but a dull orange and yellow. Sword guards are actually deep purple.
Posted Image


See the shadow on the lower edge suggested the surface is curved inward at the very edge.
The concern is that if the finish is semi-gloss or gloss, the light reflected is going to curve accordingly, and it won't be pretty. Escpecially this surface would be facing at 45 degree toward the ceiling
These parts are the ankle guards
Posted ImagePosted Image

Fixed, by filling CA+baby powder and carefully sanded.
Posted ImagePosted Image

Everything on the legs is ready for priming.
Posted ImagePosted Image

Posted Image
Posted Image

Friday, June 3, 2016

WSC Vatshu The Black Knight 進度十八

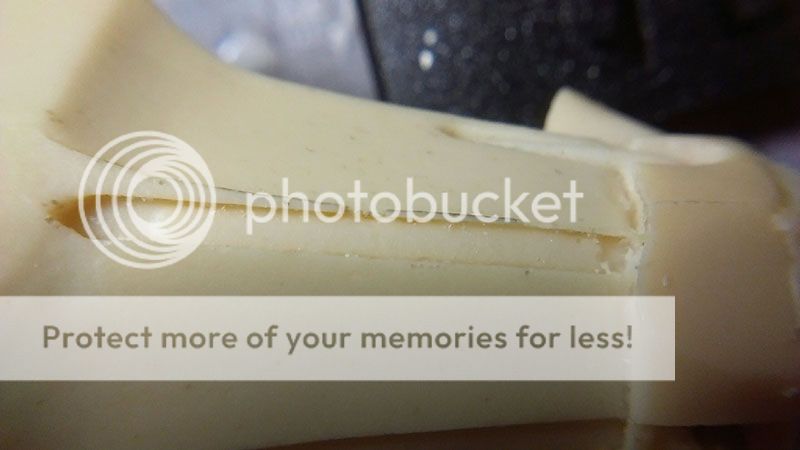
This part here is the back of the leg. There is an obvious deformed line.


I chiseled it out according to the red line, keeping one of the sides straight.


I stuffed the red area with epoxy, smoothed it out and then slightly cut a straight line by tracing a blade on the straight side of the line.