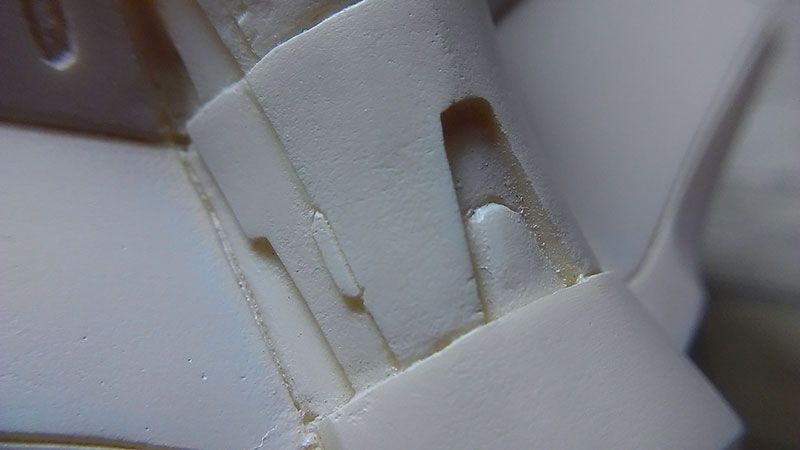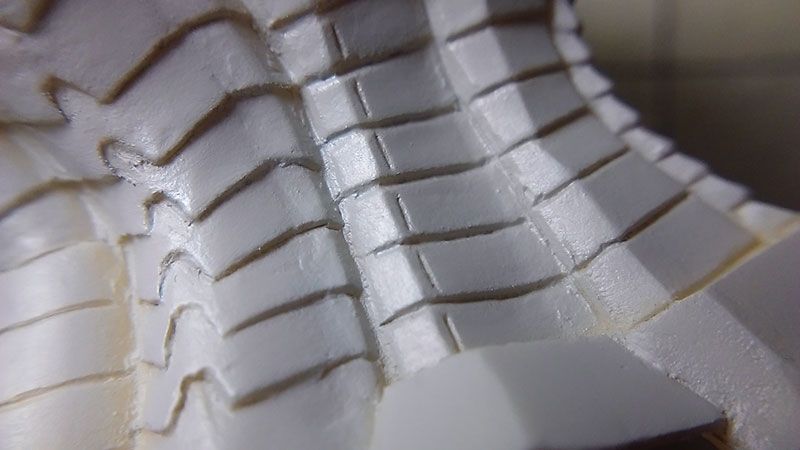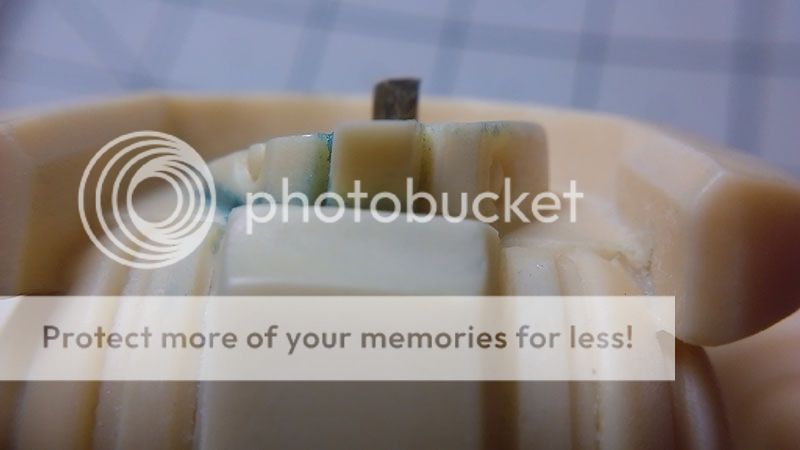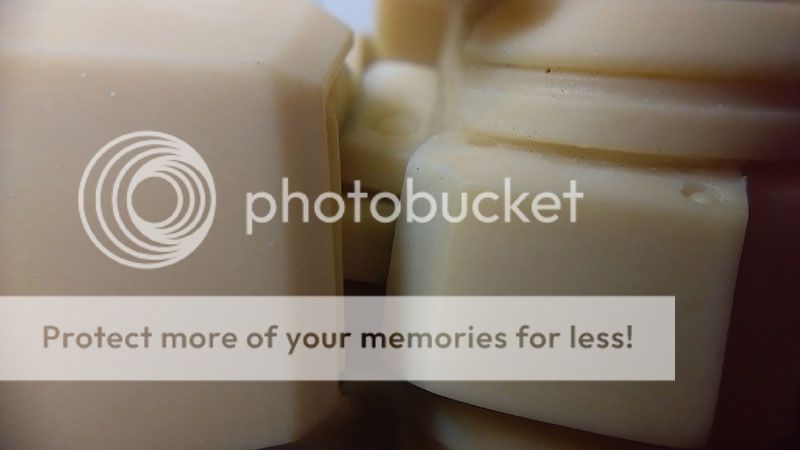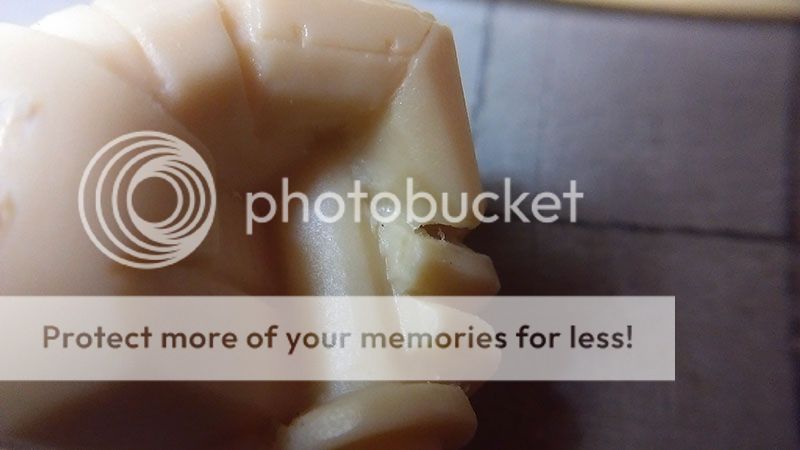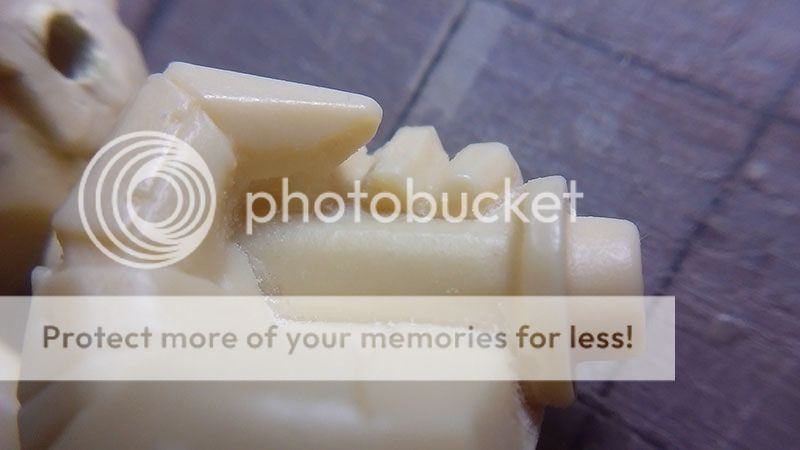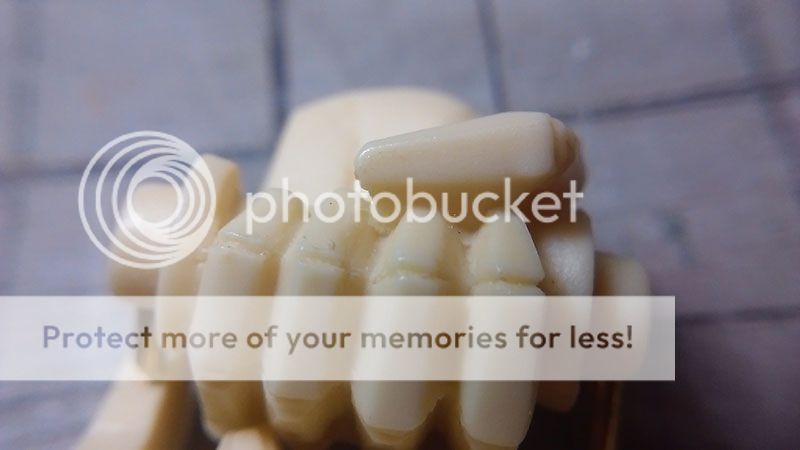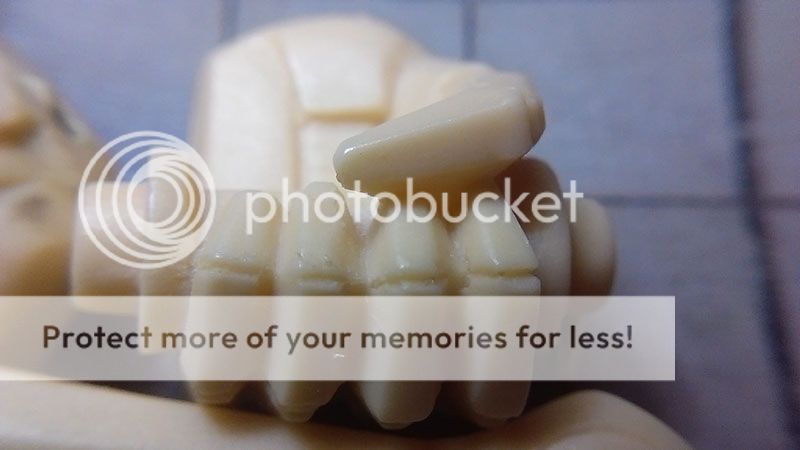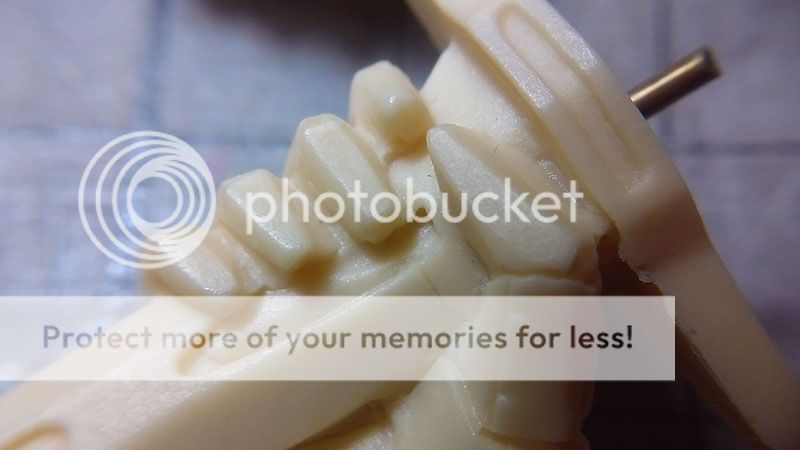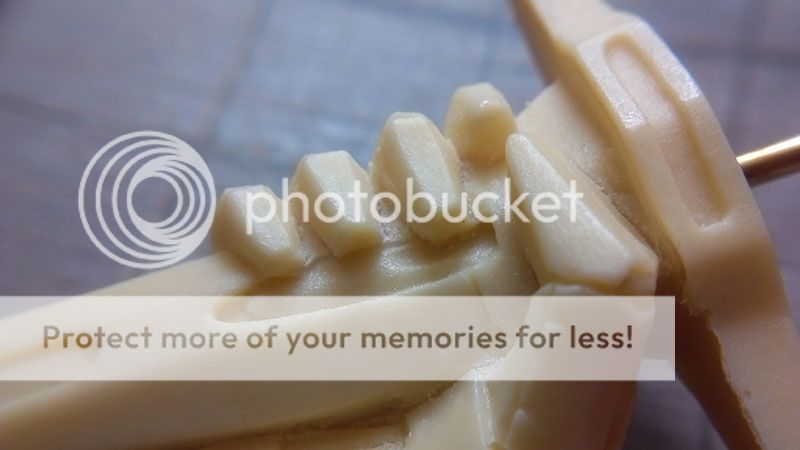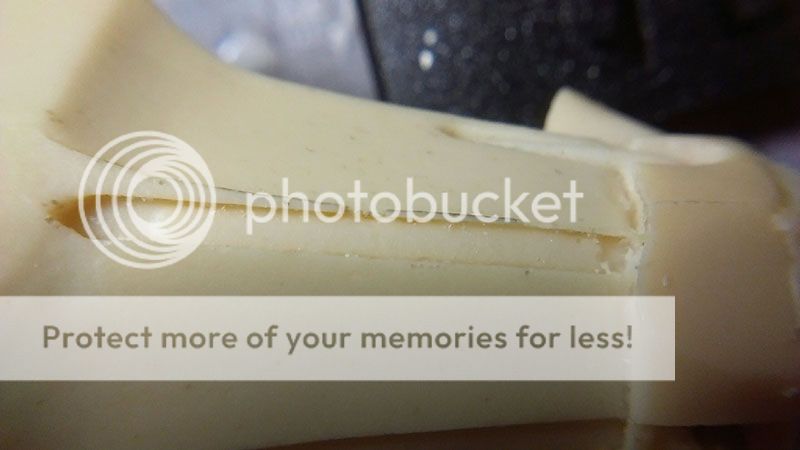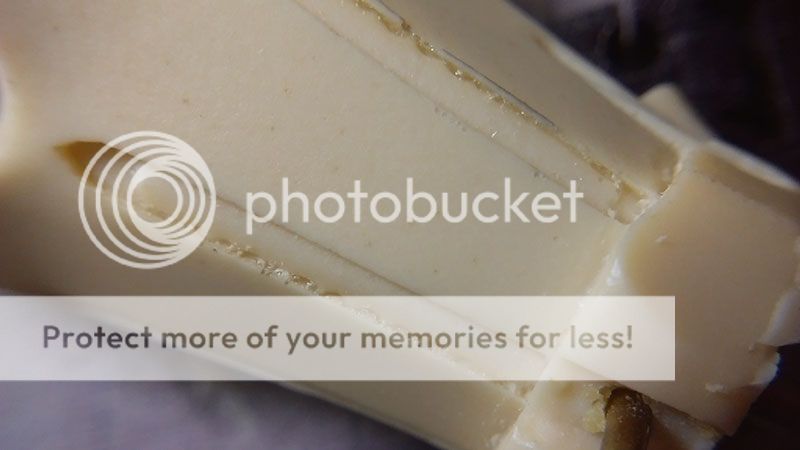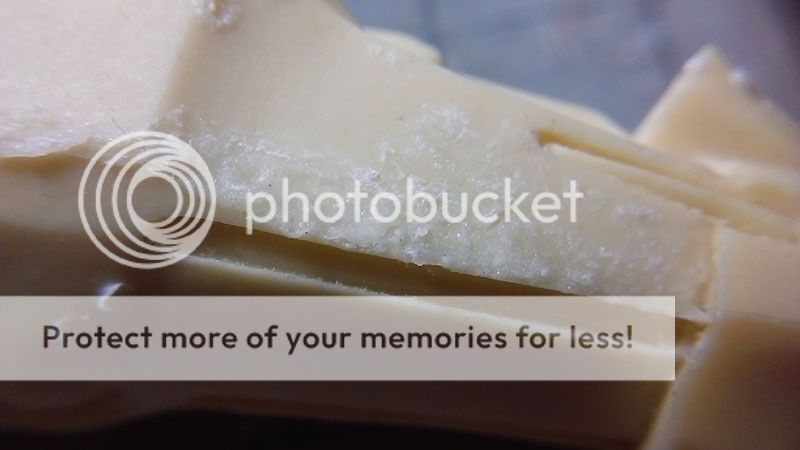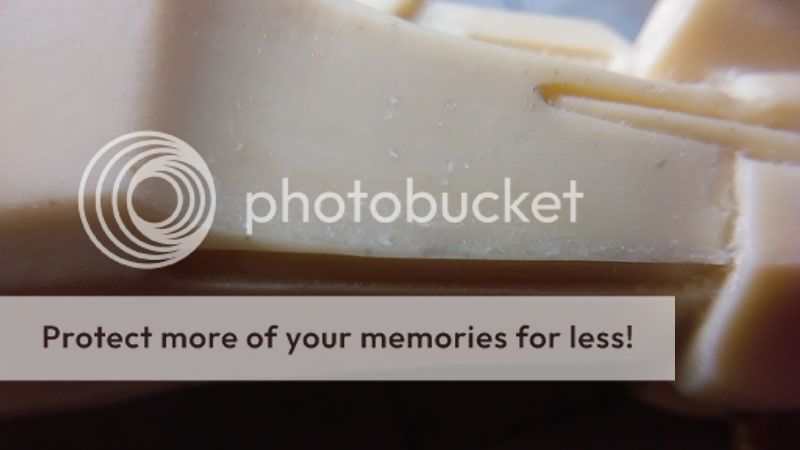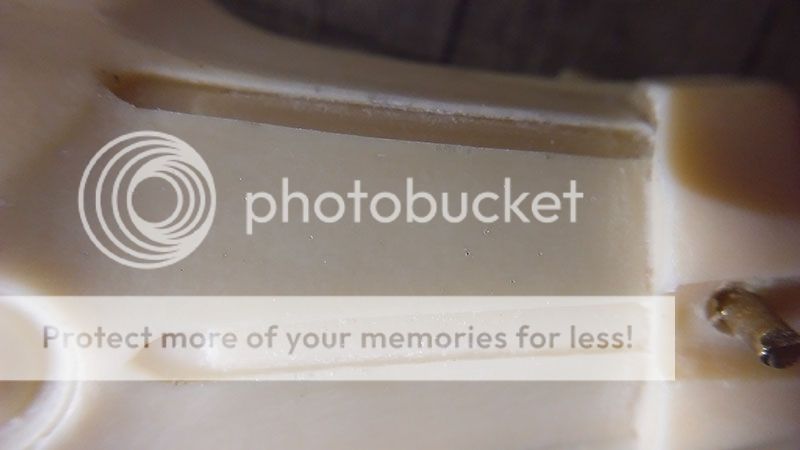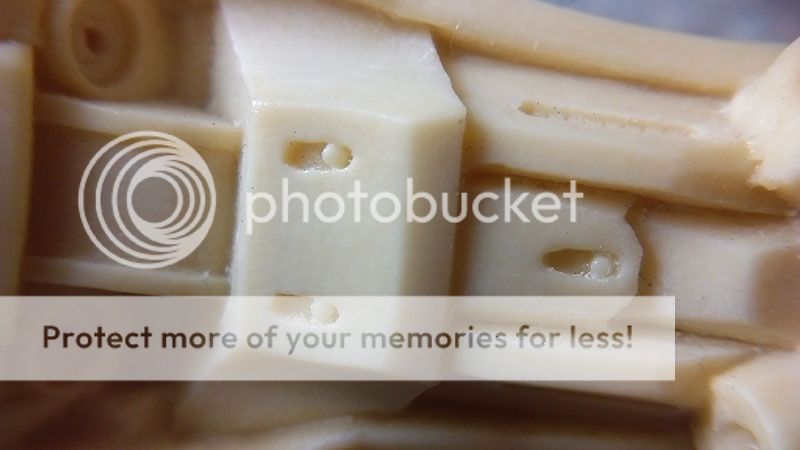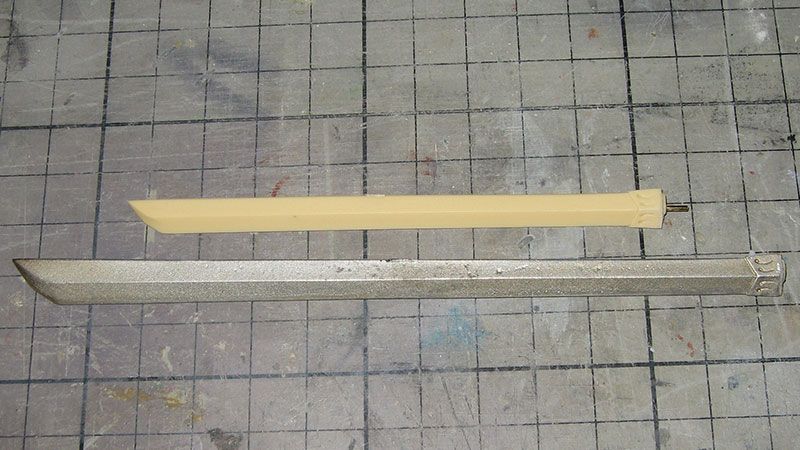
White metal part, I wanted to sand it a little before any filling.
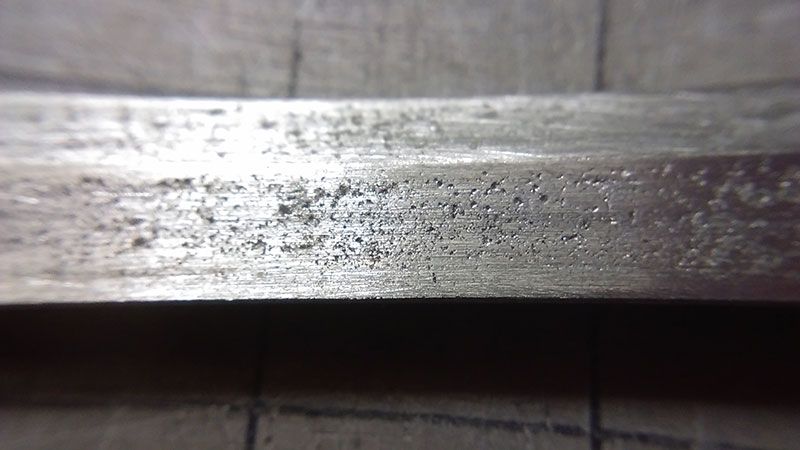
Close-up before the sanding.
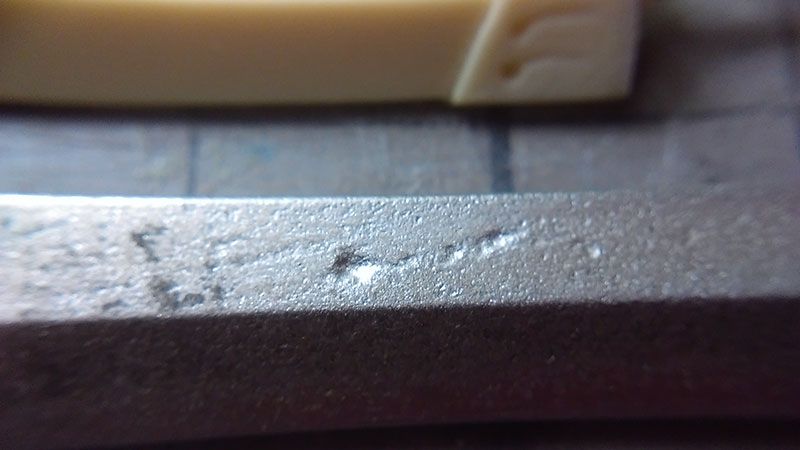
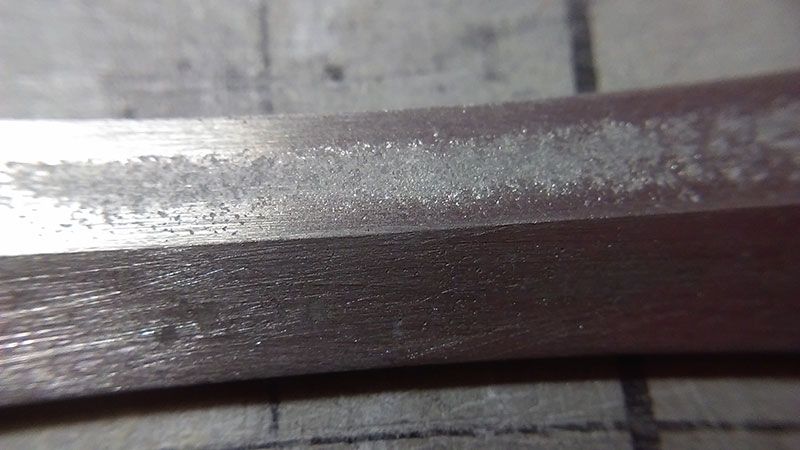
After sanding and close-up, as you see there are a lot of holes.
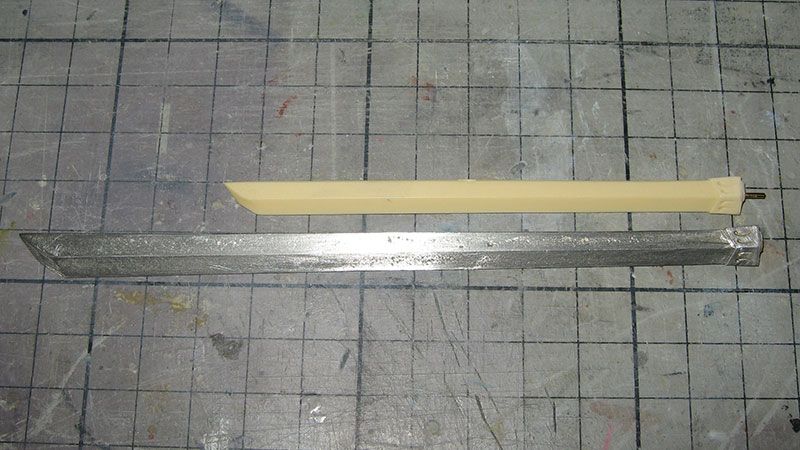
I filled the entire blade with CA+talc.
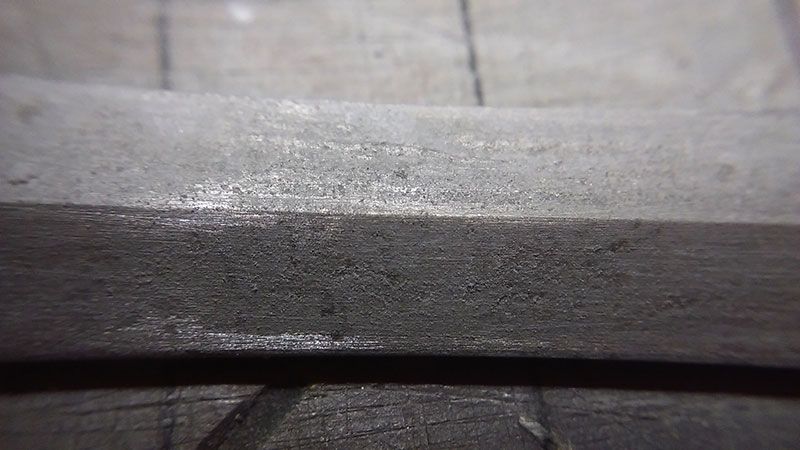
And it is roughly sanded down.
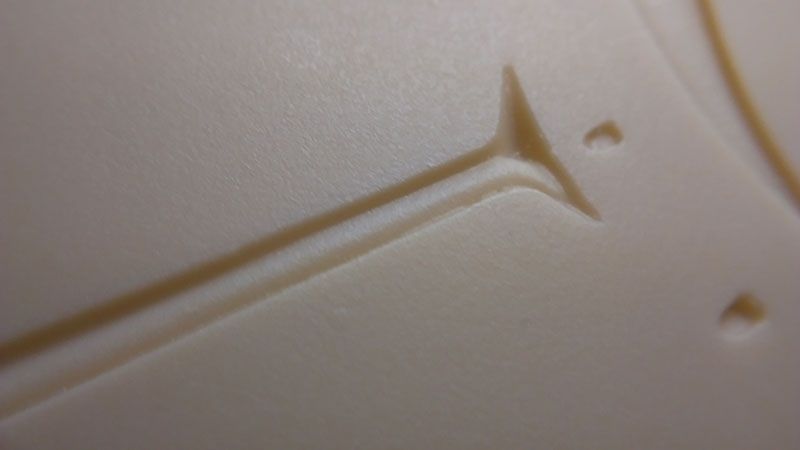
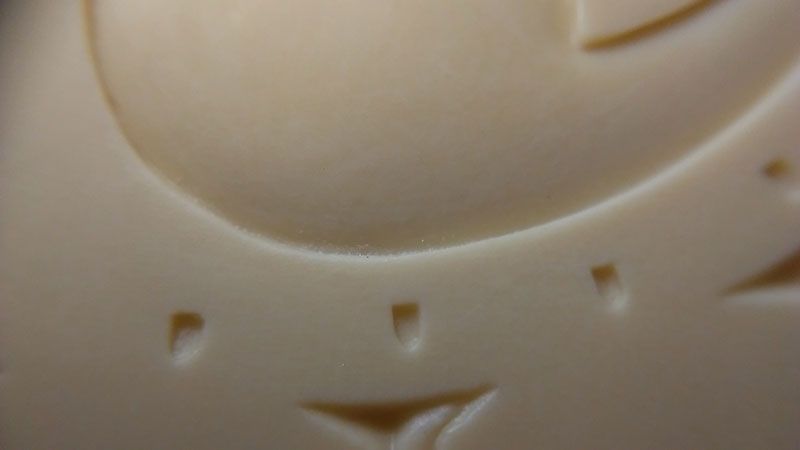
In the Factory book there is an interview with Tani and Ikushima where they discussed about the work process of implanting details on the Terror Mirage. These details on the shield are so beautifully implanted, I do not want to scribe a line in between them, that would be like removing the efforts the sculptor put into it.
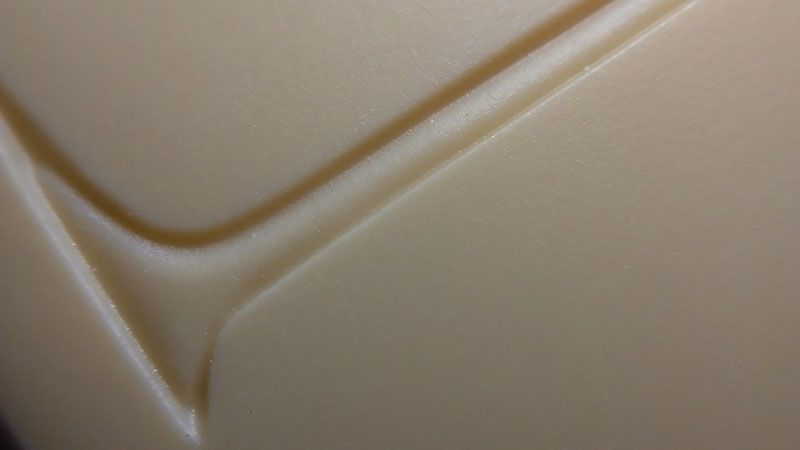
Instead, I only cleaned it up a little.
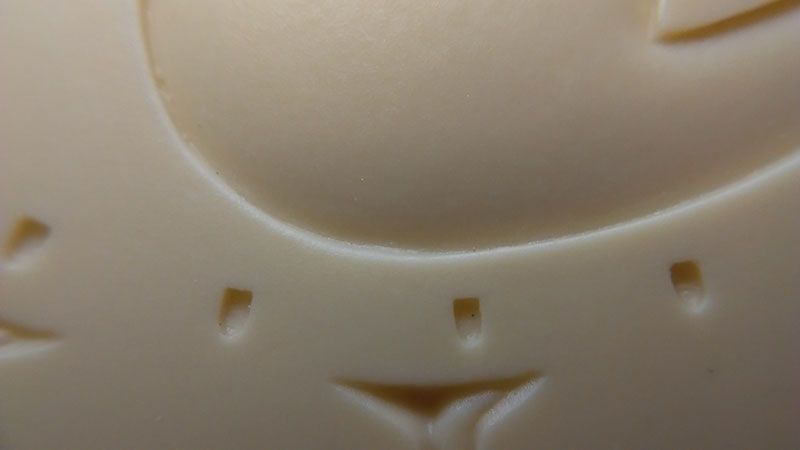
Started priming with the PS290!
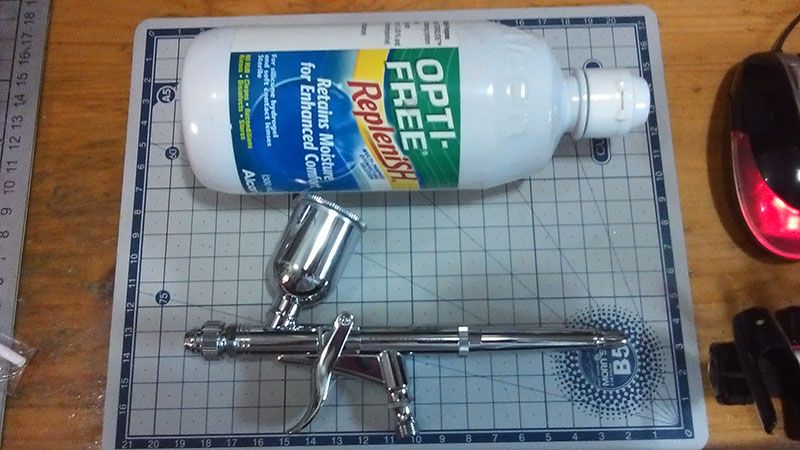
I took this from Travolta's SR1 WIP, covered the pins with tape.
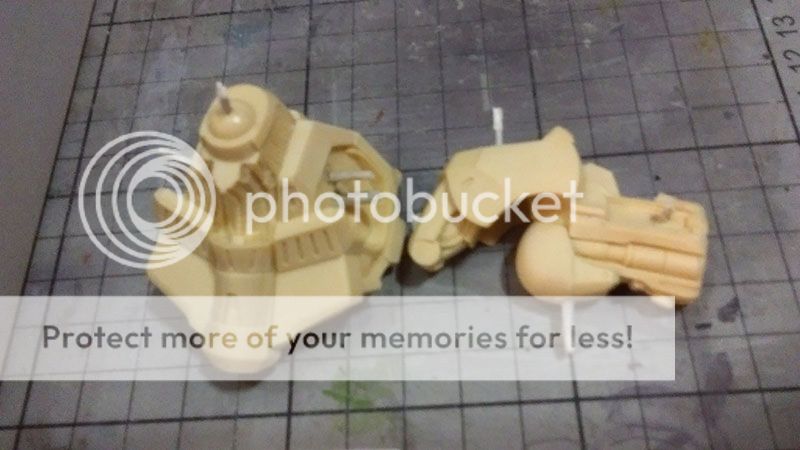
My DIY painting stick stand.
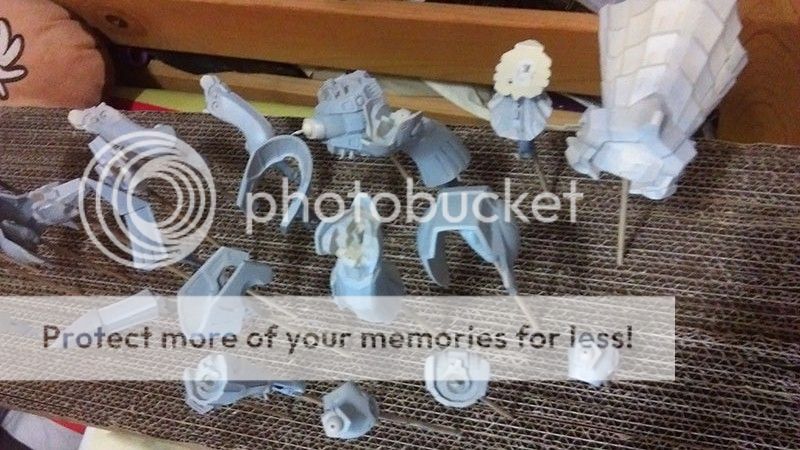
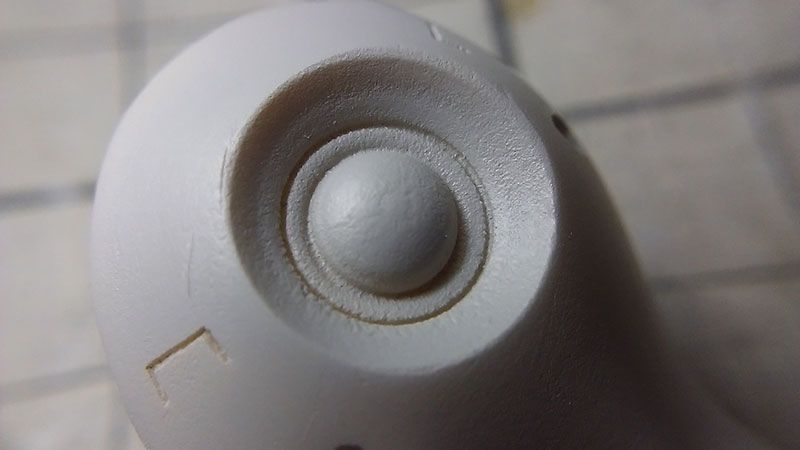
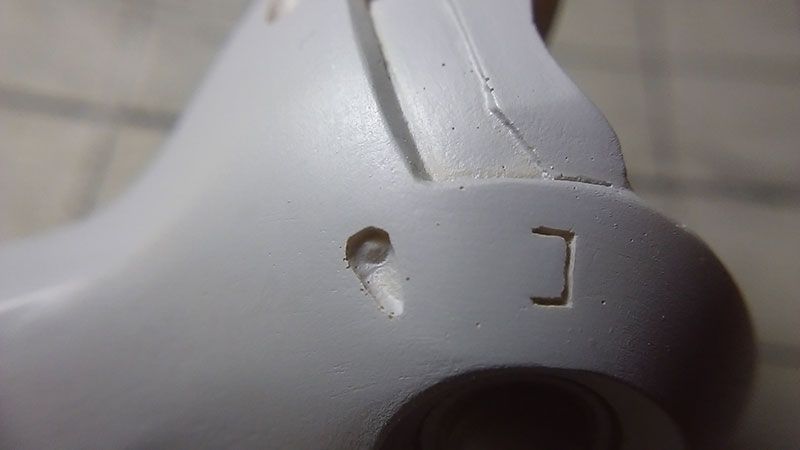
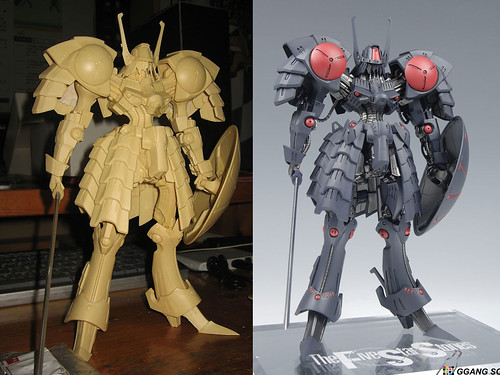
I'm very pleased with the result the PS290 gave, in this picture the smoother area are sanded with #800 paper and primed with 1000 primer. Compare it to the inside of the details where I didn't sand. The smooth spots are similar to the last primer I put on the Gastness. This time there is no crazy scratch marks by #400 paper, so I don't need to sand these spots before the base color.
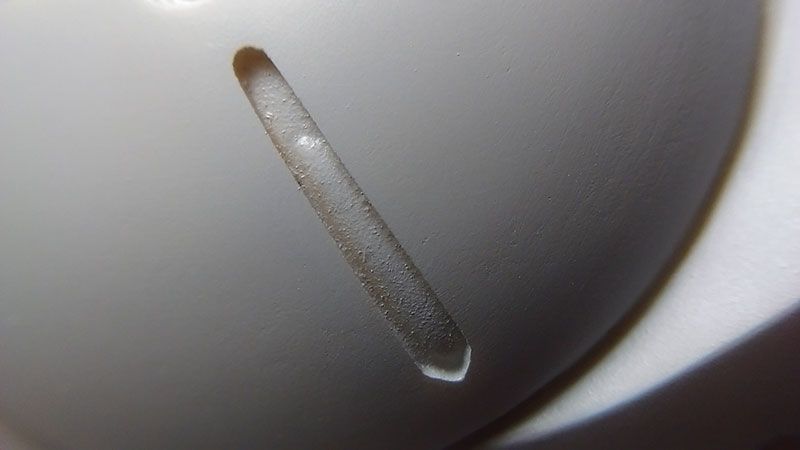
This part here is where I sanded with #400 paper, it has a lot of peels, and some bubbles I didn't cover.
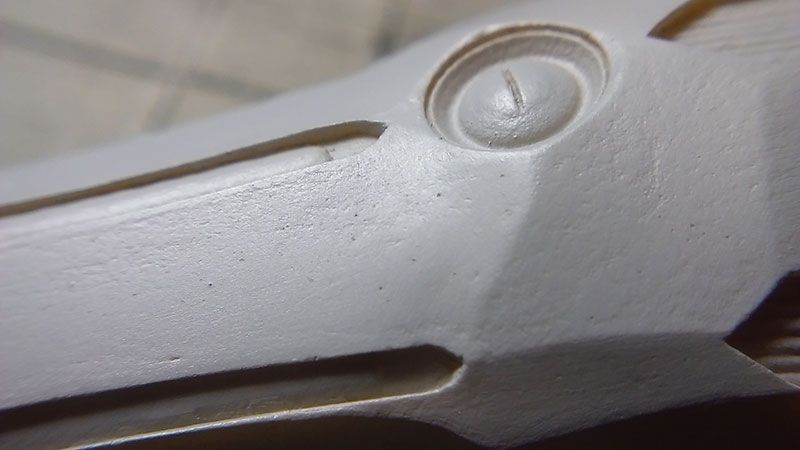
[/URL]
Imperfect spots here and there.
Check out my page
dedicated to The Five Star Stories and Work Shop Cast (link opens in a new window)
五星物語重戰機專頁 (另開新頁)
http://www.geocities.jp/ingenhk0083/
dedicated to The Five Star Stories and Work Shop Cast (link opens in a new window)
五星物語重戰機專頁 (另開新頁)
http://www.geocities.jp/ingenhk0083/
Tuesday, July 26, 2016
Monday, July 18, 2016
WSC Vatshu The Black Knight 進度二十二
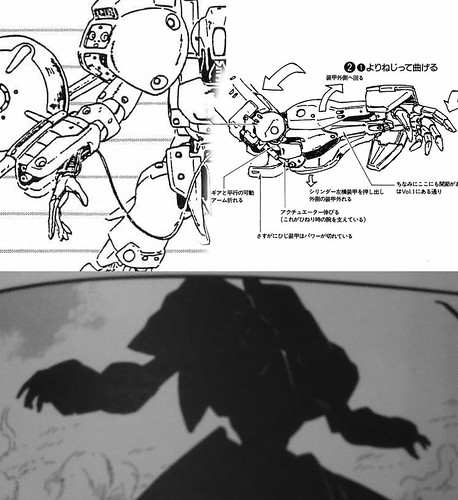
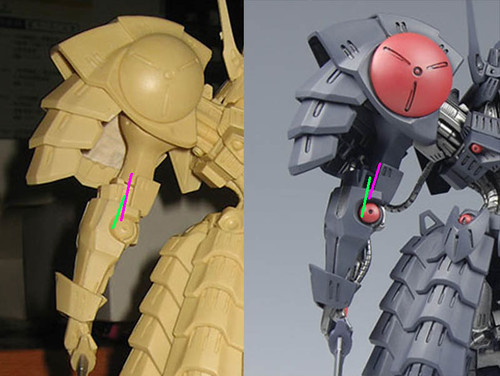
The commonly seen arms line and silhouette.
Arms on Takeya's
The lines and expression changed due to a slight change in angle.
I took better pictures of the elbow mod.
Did some cleaning.
Arms on Takeya's
The lines and expression changed due to a slight change in angle.
I took better pictures of the elbow mod.
Did some cleaning.
WSC Vatshu The Black Knight 進度二十一
The mold lines(with step!) are right on top of the edge on these lower arm parts.
Along with wavy lines and air bubbles.
In the case of wanting to keep the thickness of the edges. I built up the thickness with CA glue+talc before the sanding.
Result: straight lines and edges with the desired thickness.
Also sanded and cleared up the inside.
Along with wavy lines and air bubbles.
In the case of wanting to keep the thickness of the edges. I built up the thickness with CA glue+talc before the sanding.
Result: straight lines and edges with the desired thickness.
Also sanded and cleared up the inside.
Subscribe to:
Posts (Atom)